

")
You asked….now I am delivering. Last week I posted a picture of a cute pumpkin I made out of a book and many of you said that you wanted a tutorial. So here it is!
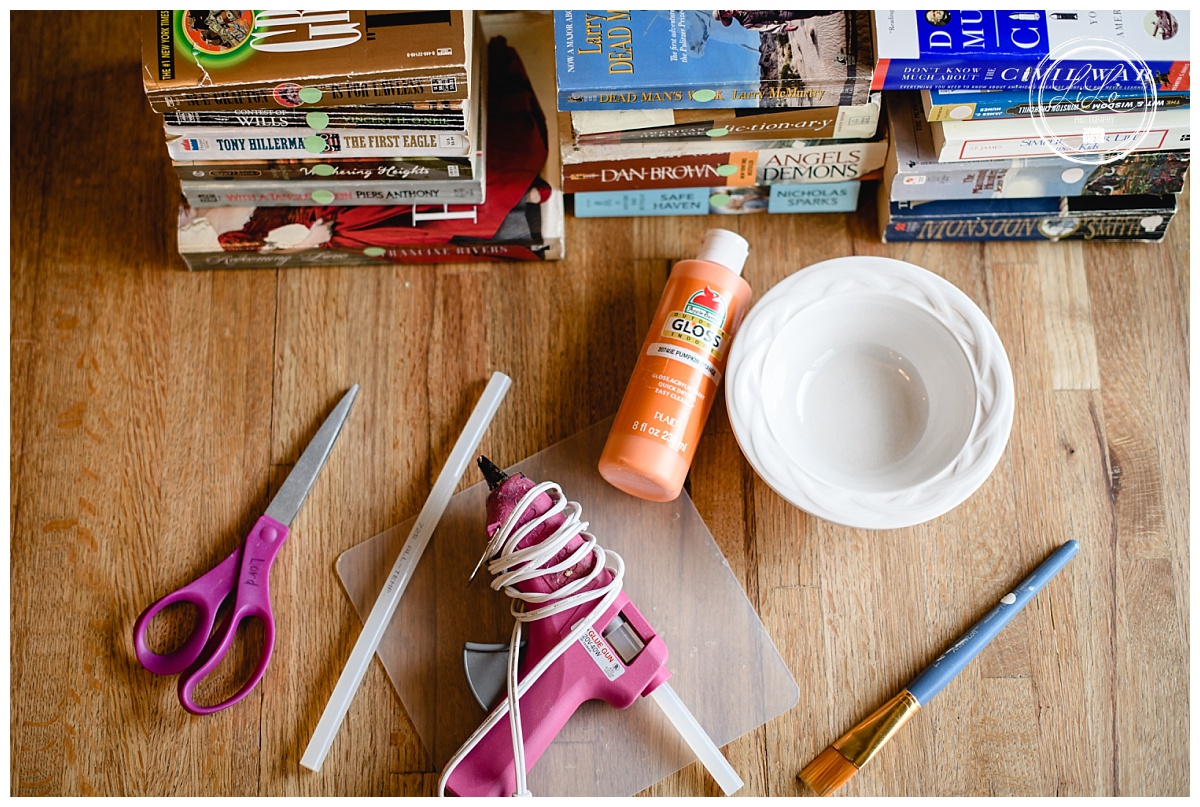
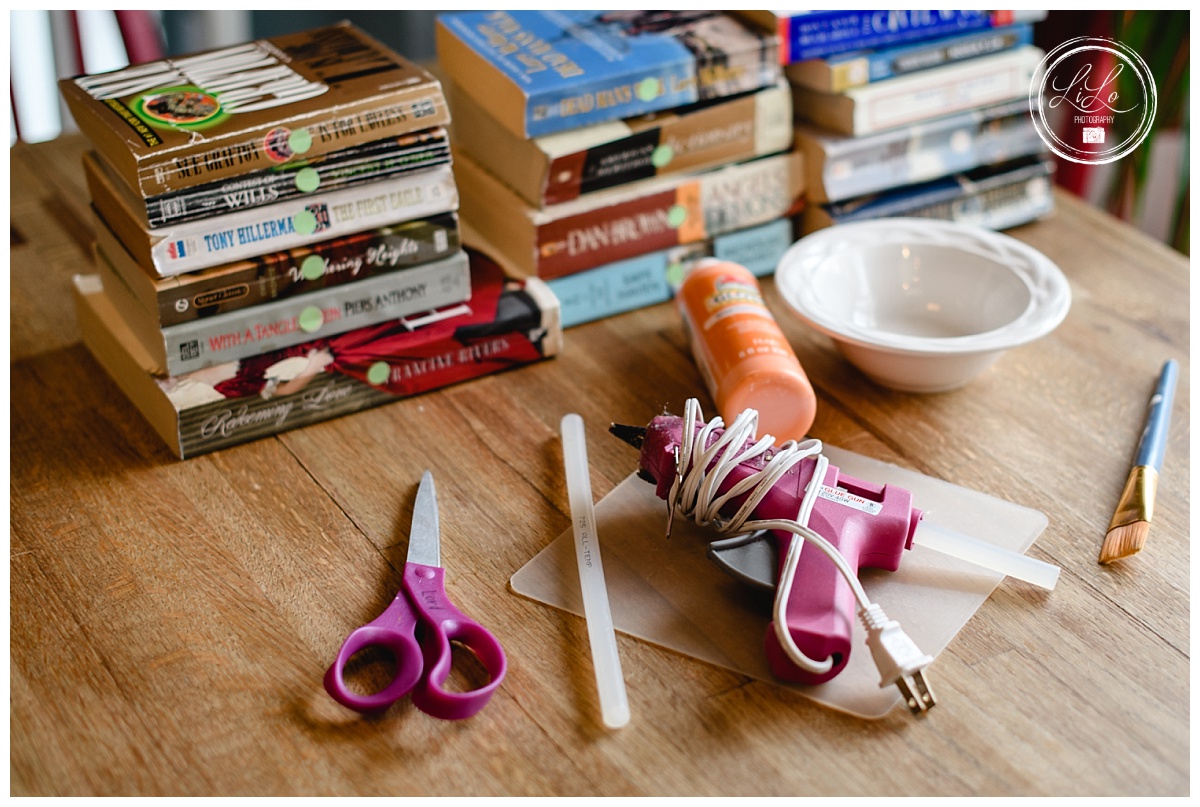
Here are the supplies that you need for this project.
Books
Paint
Paintbrush
Hot Glue Gun (and glue sticks)
Scissors
Sticks (and perhaps a saw)
Raffia
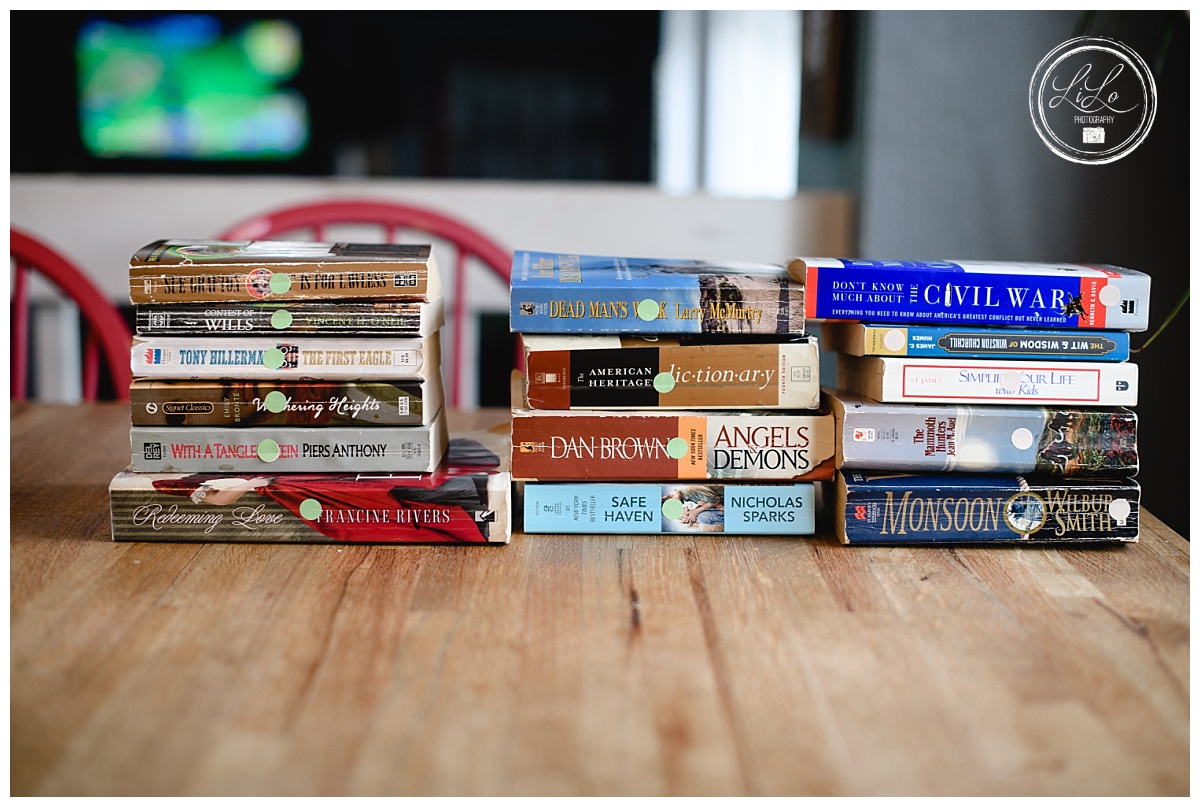
I made a trip to Goodwill to find some books to use for this project. I kept several things in mind as I was shopping. The size of the book, the wear of the book (the books that have a flexible and well used spines are the best) and the little colored dot on the book. Goodwill (and most thrift stores) have a color of the week and those items are 50% off. So I tried to find the books with the pink dot.
I had quite a few picked out and headed to the checkout and realized I was looking at the wrong sign and then had to go back and get green dots instead of pink. 🤦♀️ Tall skinny books and super fat books make the for the best ones! Books that are wide, don’t work as well. I also tried to get books that were Halloween-y. Books about death, war, and then I HAD to buy Redeeming Love as that is one of my ALL TIME FAVORITES!! If you haven’t read that book, you really need to! Just make sure you have an entire night/weekend free because once you start it, you won’t be able to put it down.
All of the other supplies I had on hand (except the Raffia- which is why it isn’t pictured. I had to go to Walmart and get that the next day. Funny side note: I spent 15 minutes wandering the craft section and finally had to call my mom to see where they kept it. She was spot on and they keep the raffia in the section with the artificial flowers and flower supply section just in case you need it. I may be 41 years old, but I still need my mommy and she is still right after all of these years. Thanks mom.)
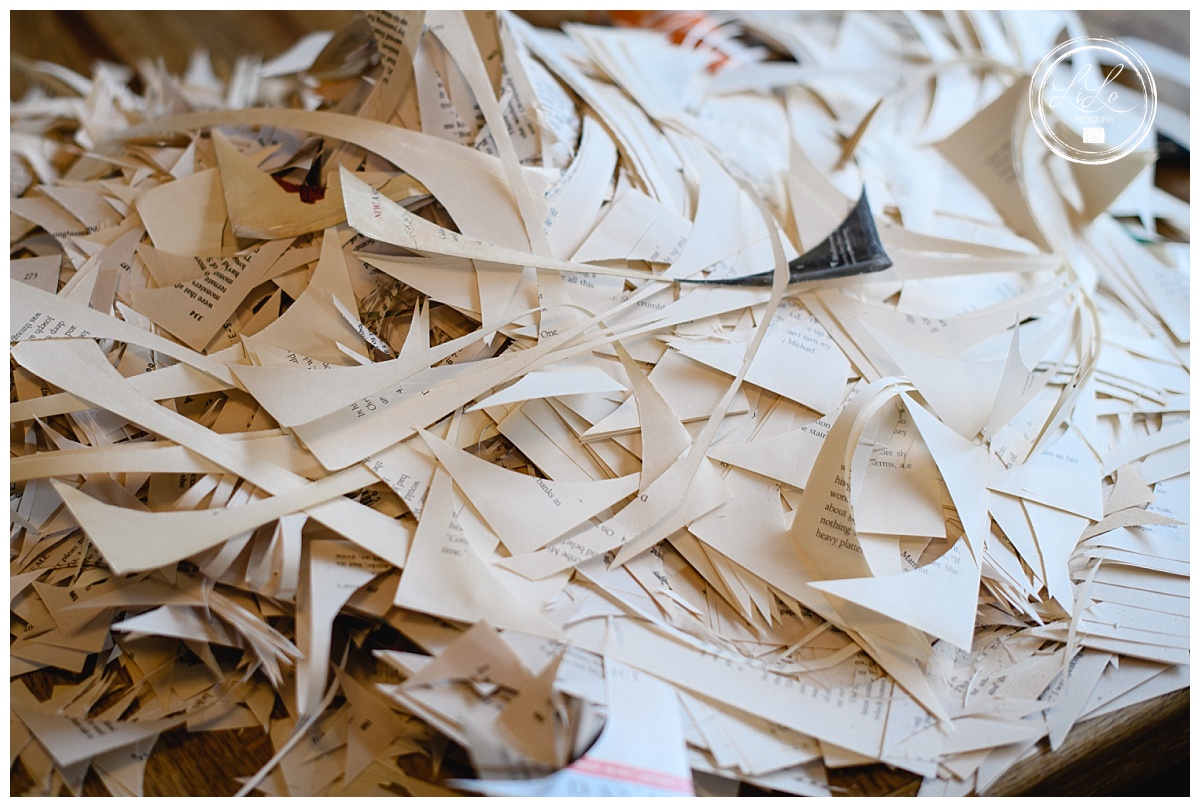
First step (after gathering supplies) is to cut the books. Many of the tutorials that I looked up said you should use an exacto knife. I tried that it and it did not work, it ripped the pages and took forever. So I just hacked away at the books with my scissors cutting as many pages as I could at once. I say that a bit tongue in cheek, but also with a bit of truth. I cut the cover of the book into the general shape I wanted and then just cut all of the pages using the cover as a template. You really can’t mess this up so don’t over think it too much or try to make all of the pages perfectly even.
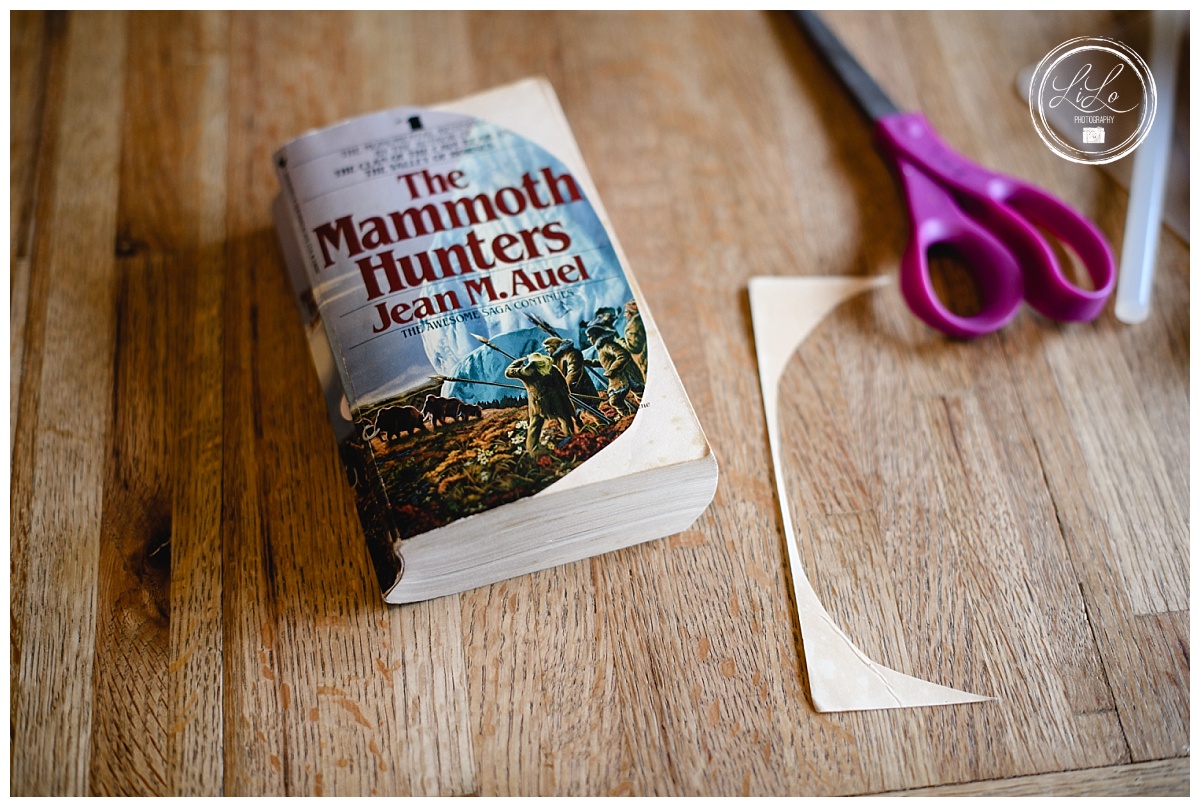
Some of the books I just cut the corners and left the main part of the book straight. This was the quick and easy way to do it. However, the books that I ended up liking the best were the ones where I at least cut a little bit off of the straight part. It soaked up the paint better and made for more warped edges (which personally I like better). Don’t worry about making the pages all even and perfect. I actually liked the parts that were a little scraggly. Notice in the picture below that I got a little bit lazy and decided to see what would happen if I made a square pumpkin. Anyone remember the Spookly the Square Pumpkin special on the Disney Channel??

Note: You will get a blister on the top of your thumb from cutting. Especially if you do a bunch at once. Perhaps use two different pairs of scissors so they aren’t rubbing on the same spot. Or put a band-aid over the area it is rubbing against to ward off the impending blister. You are welcome for that sage advise that comes from the blister I am sporting. Also note that this is messy. Do this out of the prying eyes of your spouse (or anyone who is a bibliophile and might be offended by your book butchering).
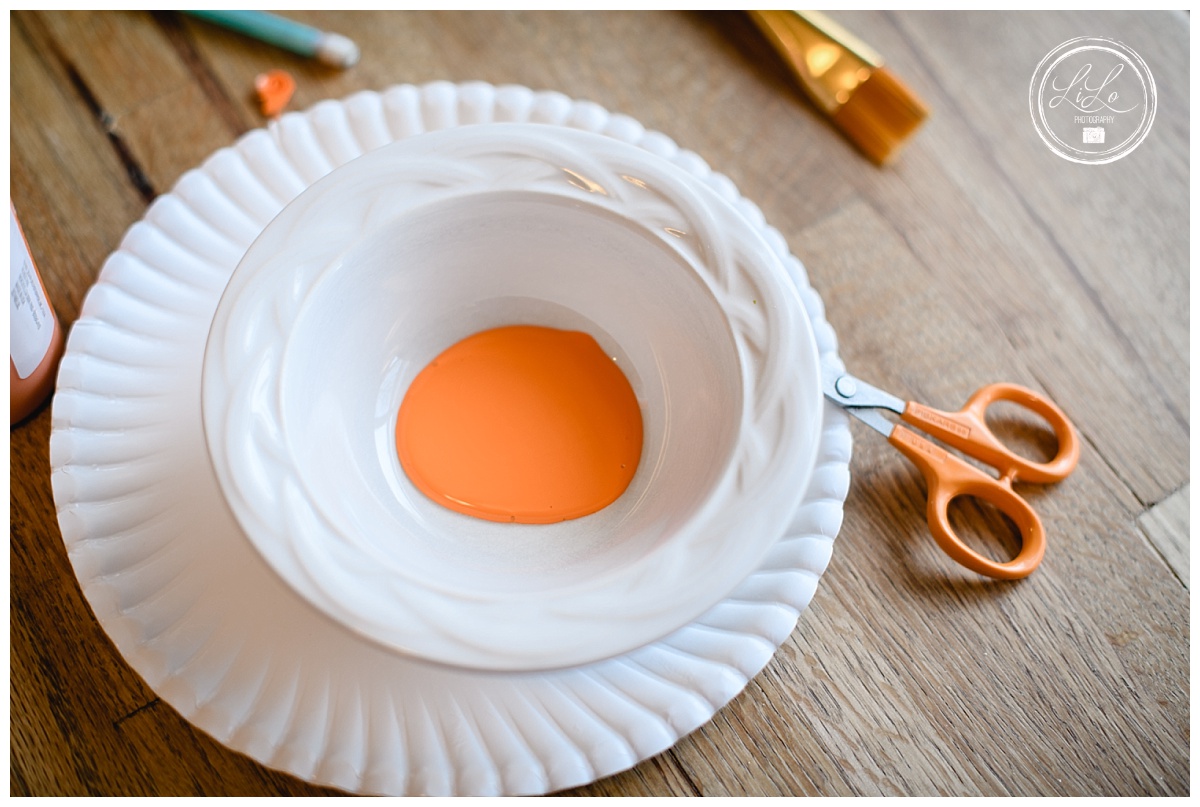
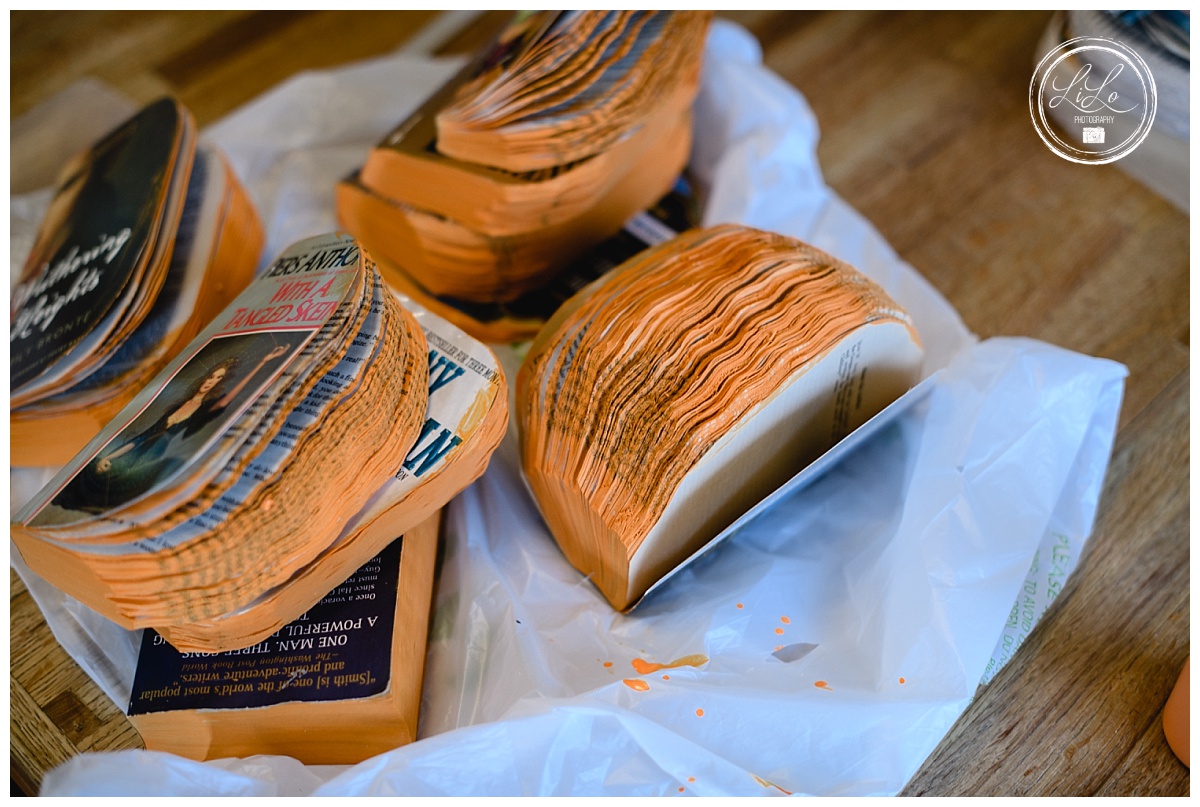
Next step (after cleaning up the mess you just made) is painting. Take some orange paint and mix it with some water. There is no magic in this as well. I did not measure it. I just added water and mixed it with my paintbrush. You want it to be liquid-y but also maintain it’s bright color. So use your judgement. Again….you can’t mess this up. But if you really like measurements then start with 2/3 paint and 1/3 water and adjust from there.
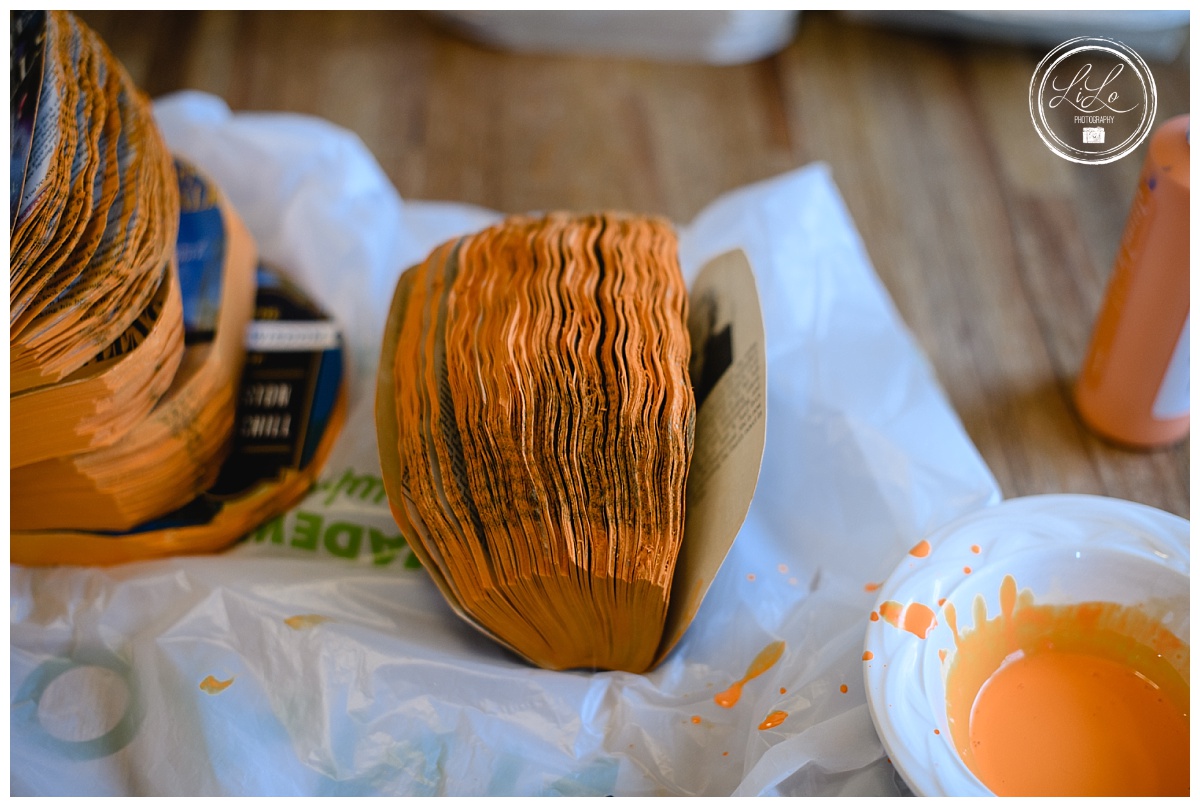
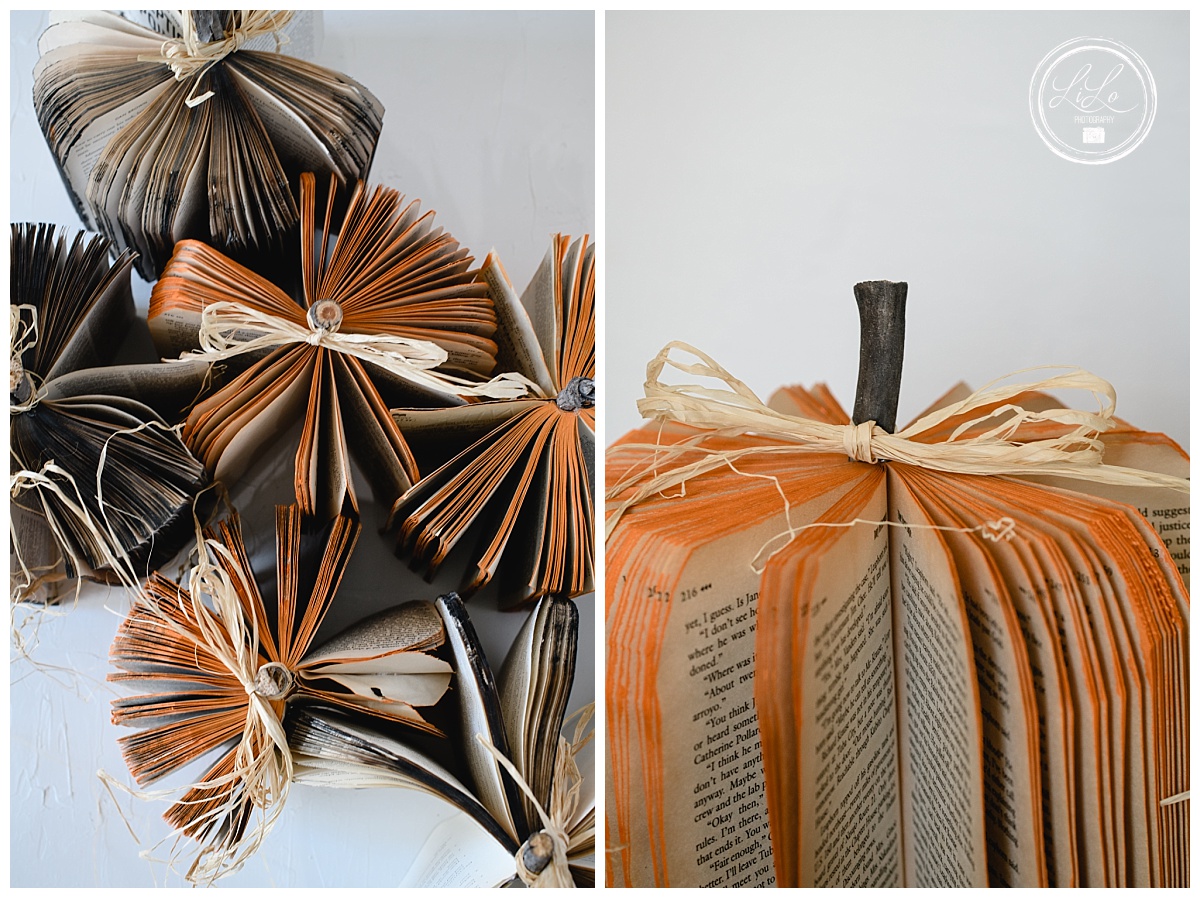
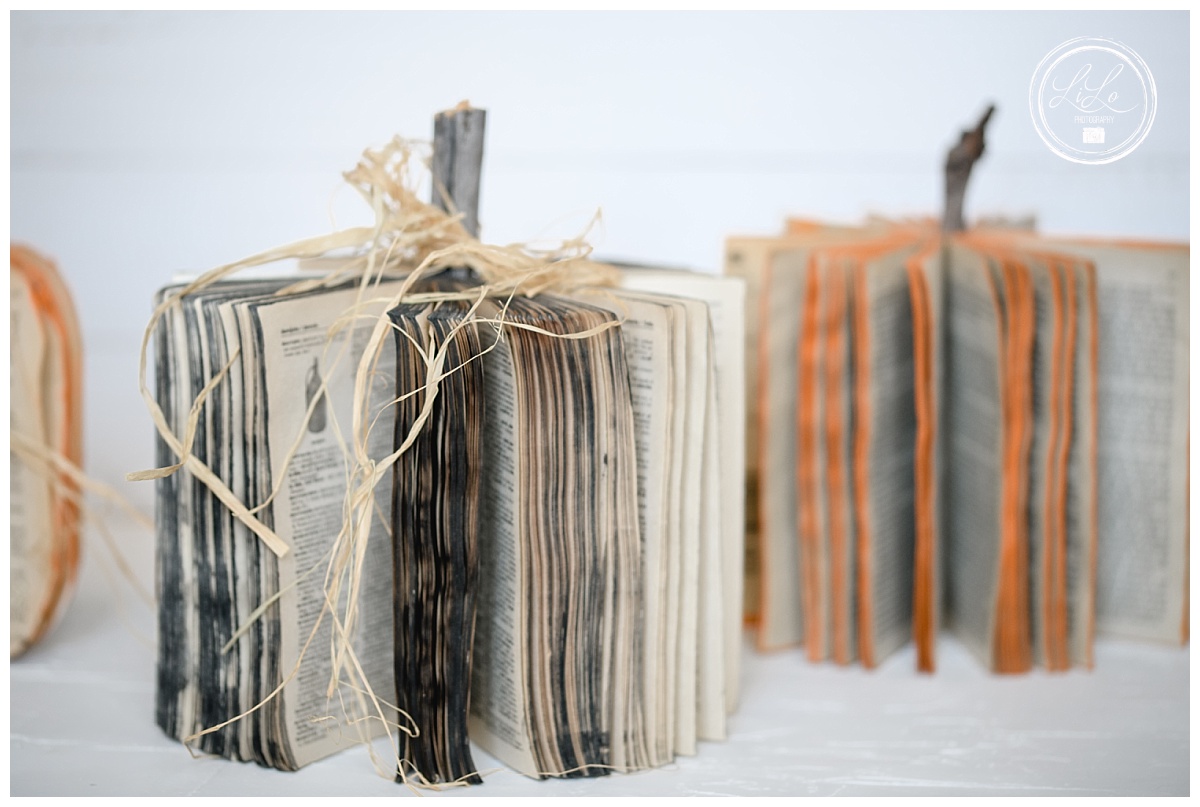
Just take the book with the pages closed and paint the edges of the book. If the paint goes in between the pages, that is fine. Better to put too much paint than too little. So go to town. Again….the theme with this project, you can’t mess it up! On some of mine, after I painted the edges, I let it fall open and I painted again so that more color would go onto the pages and not just a bit on the edges. After I finished a few I got the idea that I wanted to try to make some with black edges, just to see what it looked like. They are pretty cool!! You could probably use any color and they would be awesome. Again…..you can’t mess this up! I was a little bit more conservative with the black paint as I wasn’t sure if it would be too dark, but I think I could have used more.
Let those dry. I am an impatient person and wanted to just finish this project so as soon as I was done painting the last one, I started working with the first one I painted. It was still a bit damp and got a tiny bit of paint on my hands, but it still worked just fine!!
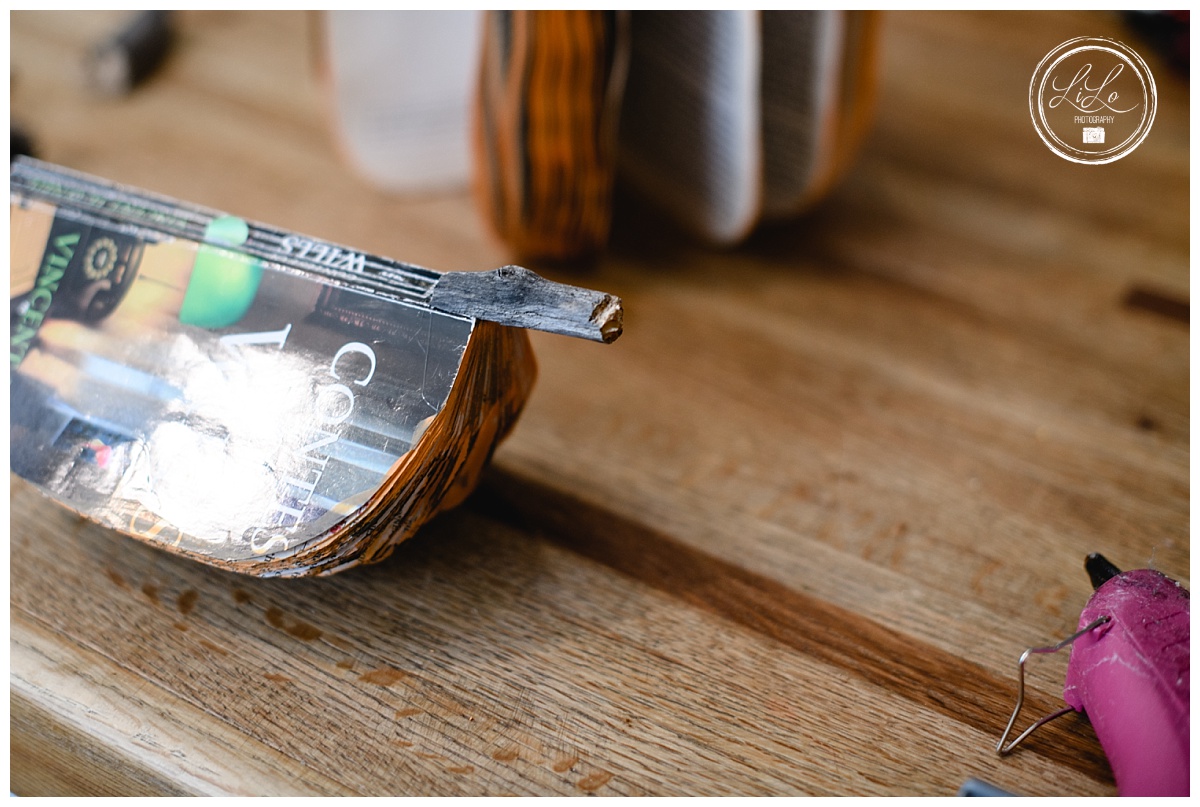
Get out the glue gun and warm that baby up. Take the front cover and glue it to the back cover. Don’t fret if they don’t completely match….just trim the edges after you glue them together. Again…can’t mess this up. Sometimes you need to fan out the book a bit and un-stick certain pages. And sometimes you need to glue a few pages together to make it more uniform. Use your judgement. Just know that because of the nature of the book, the binding and the cover, these pumpkins will not be perfectly symmetrical.
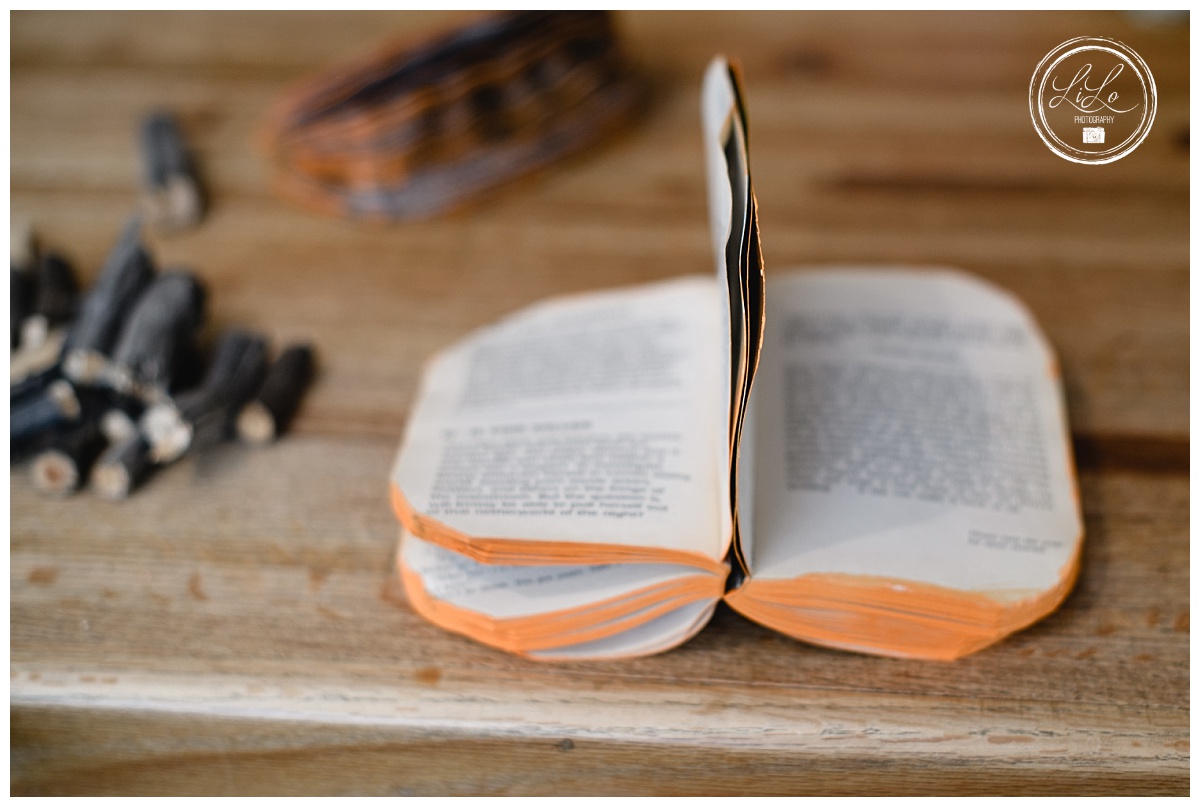
If it looks uneven, you can flatten it a bit by setting it under something heavy for a bit. This is when it is handy to have picked books with flexible bindings and not stiff books. This is also a good way to store the books as when they are all fanned out as they can take up a lot of room on your kitchen table and your husband might get annoyed. Not at my house….I’m just saying.
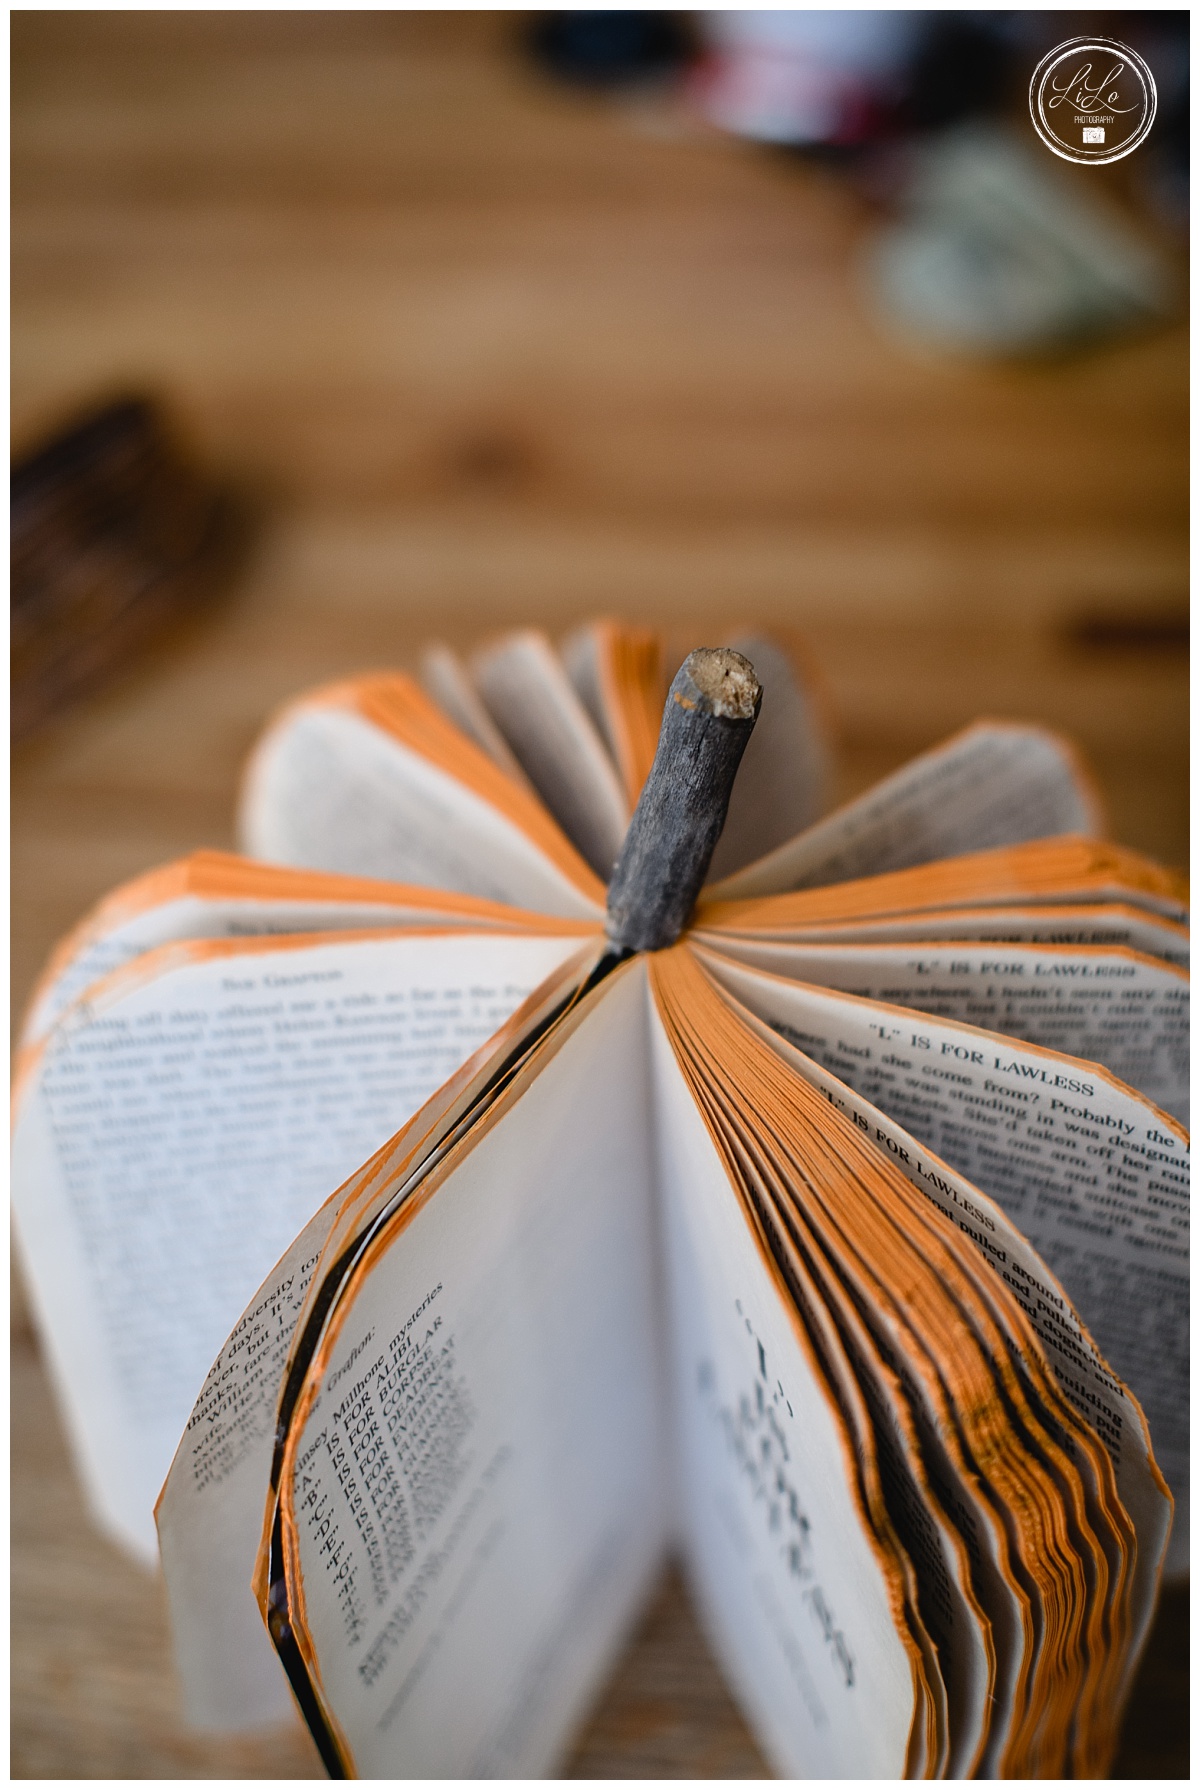
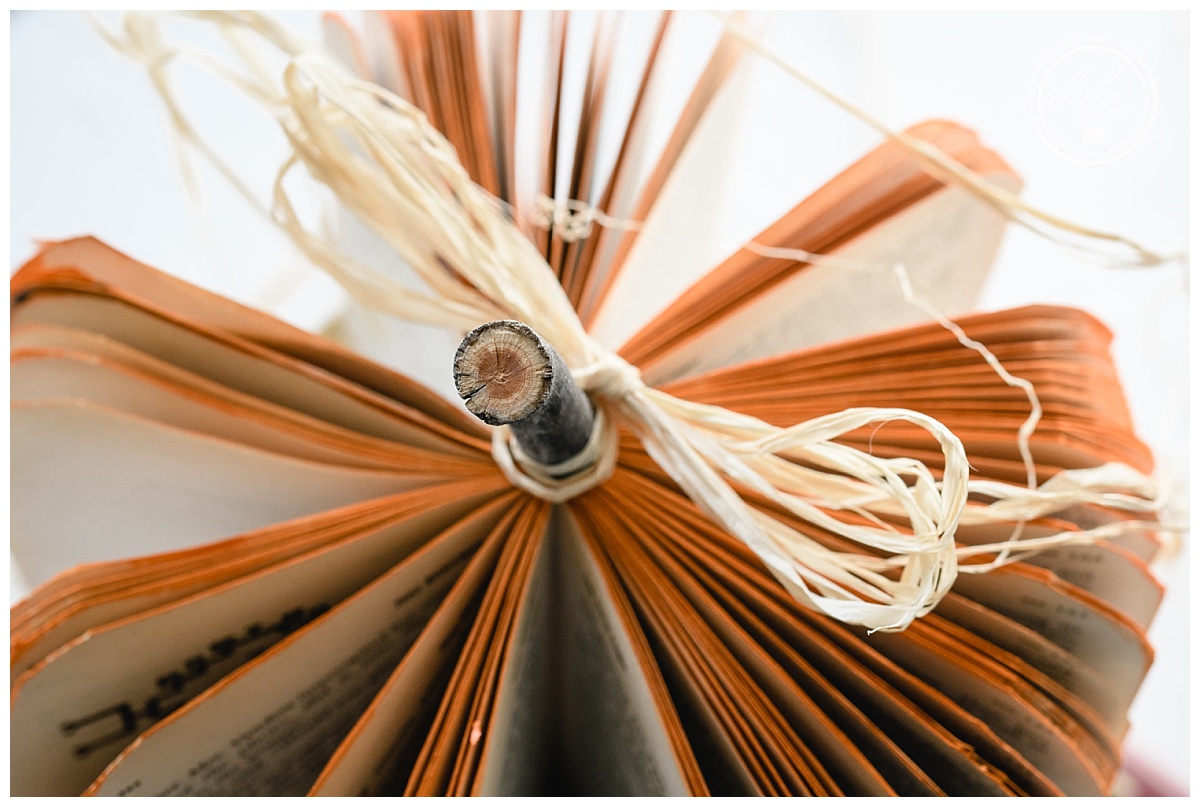
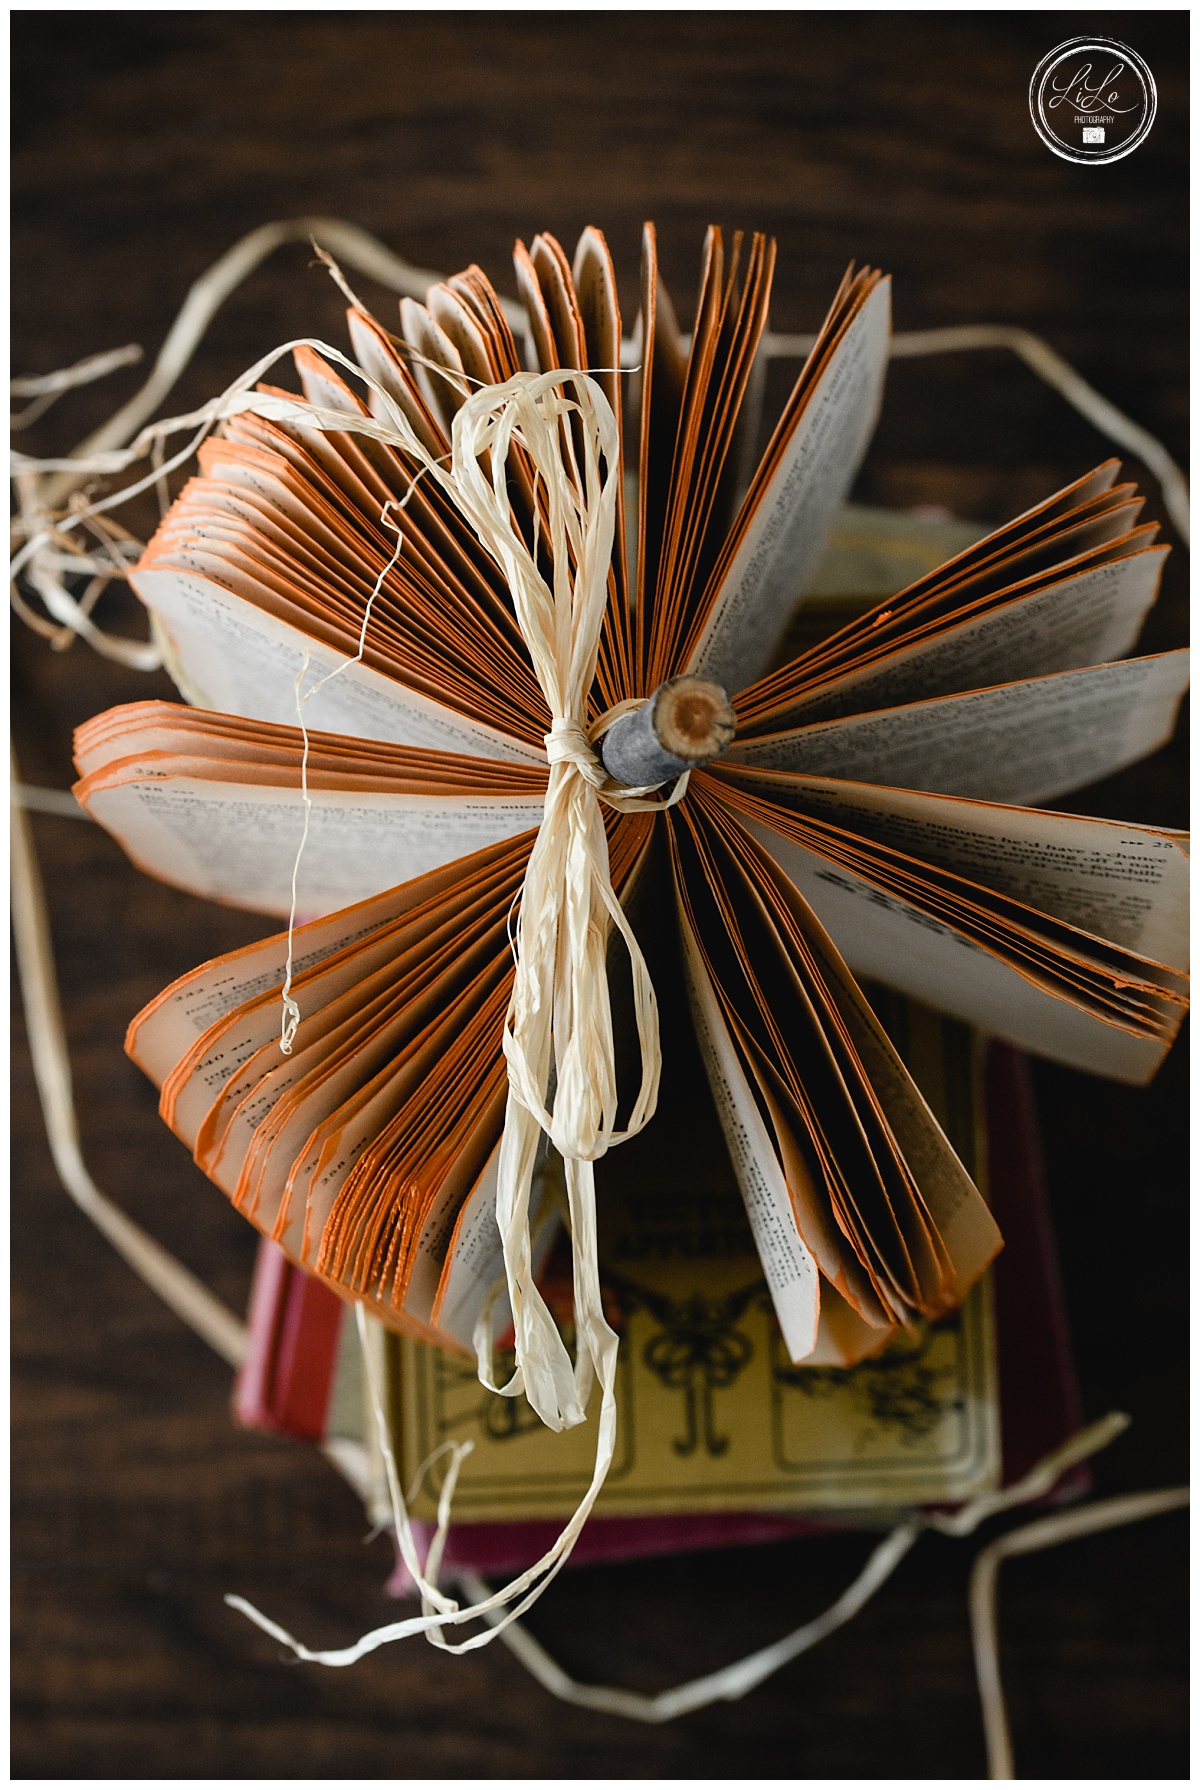
Next step, scavenge your yard for sticks to use as the stems. I found a really old stick that I had procured for a different project hiding in the garage so I used that. I used a saw to cut it about halfway through and then used my strong hands to break the rest. It was nice because it made it uneven and it was easier to attach to the book. I took the pointy end (I am using my big vocabulary here I hope that you are able to follow along) and stuck it into the circular hole created when I glued the book covers together.
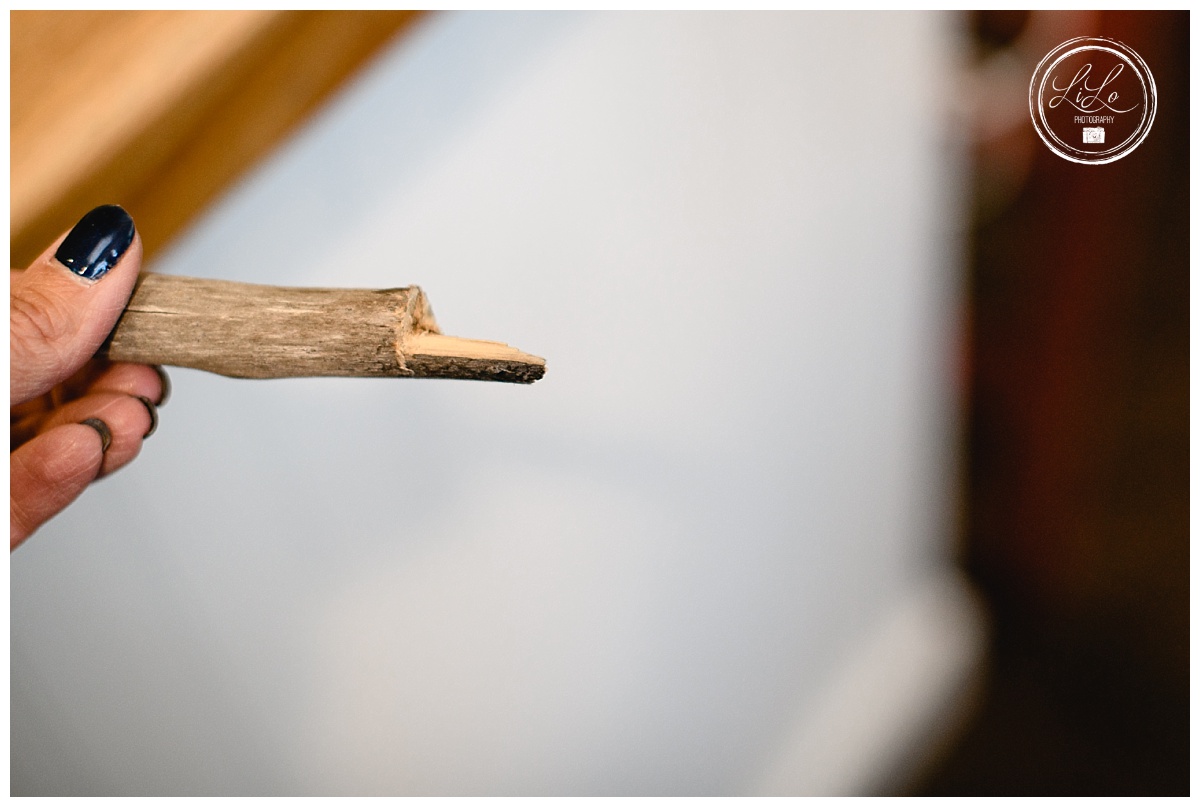
You can either use my method of sticking the pointy thing in top of the book once it has already been glued. Or you can put the stick on the binding, glue it down and then glue the covers together. Or a third option is to just glue the stick to the top of the pumpkin once it is all glued. I liked the pointy stick option the best, but you can experiment and yep, you guessed it. You can’t mess this up!
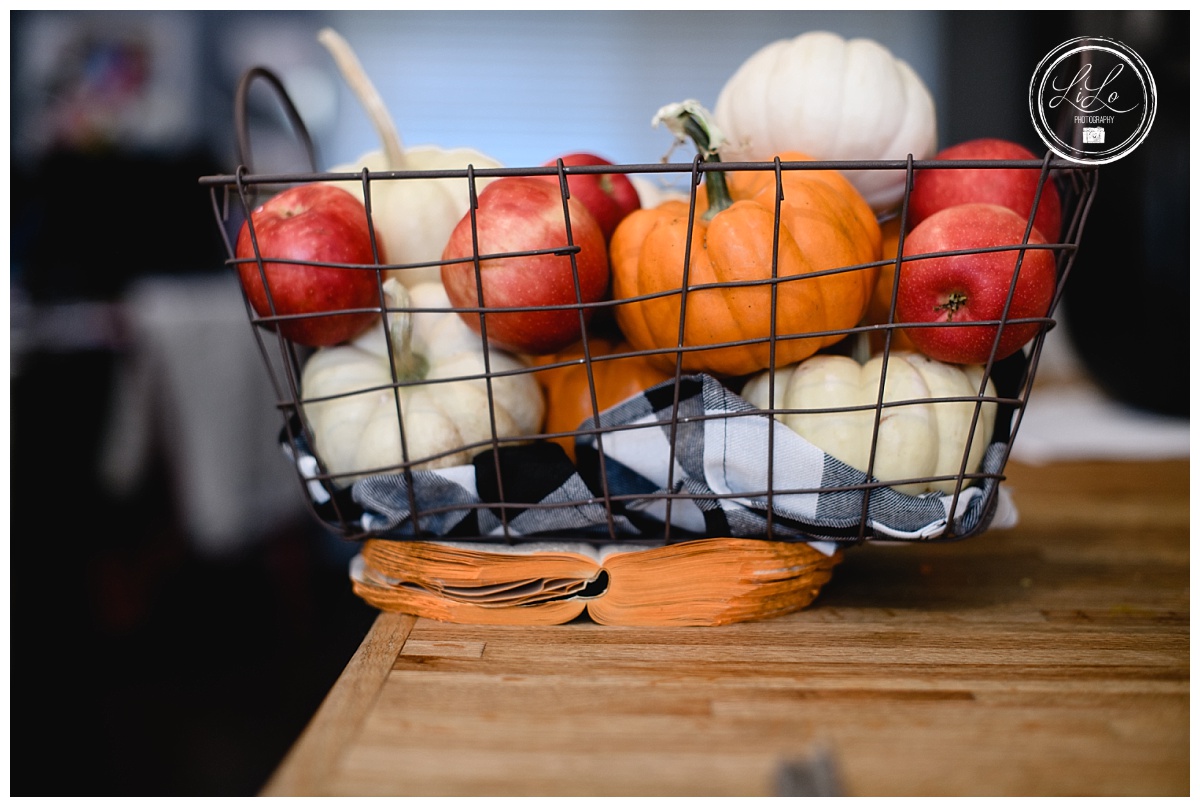
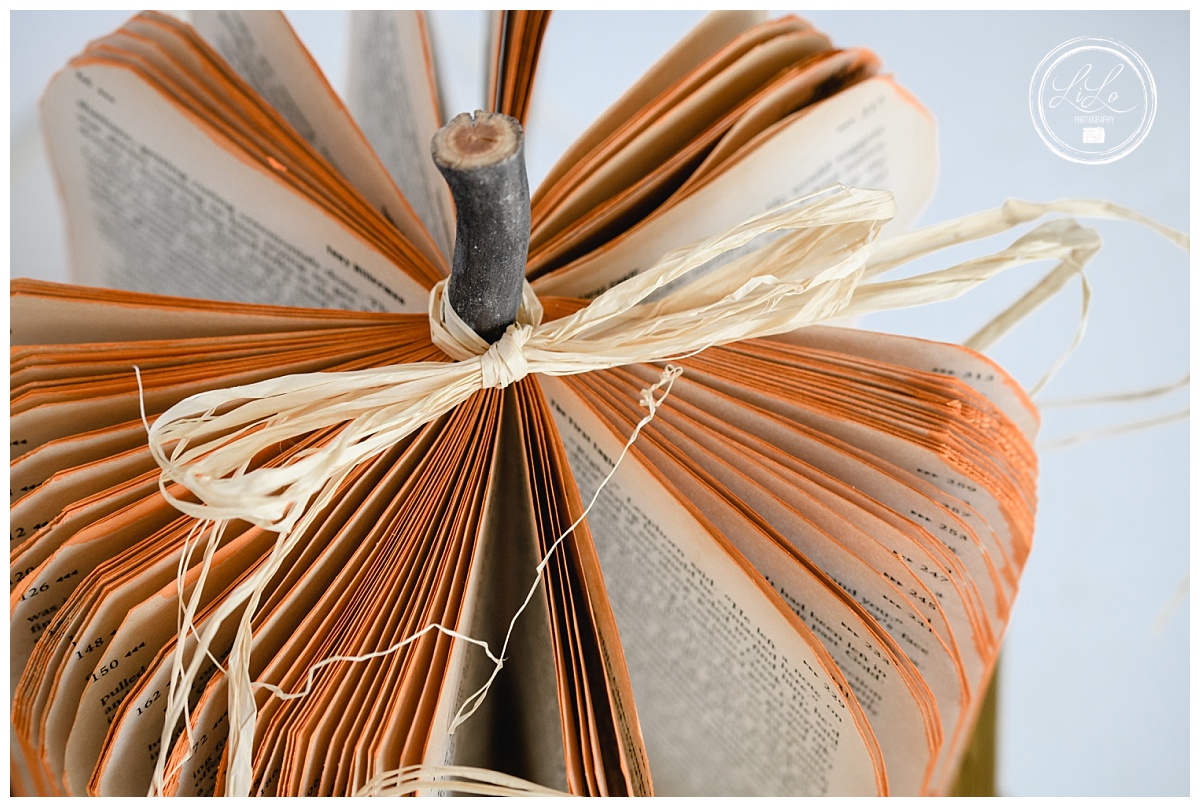
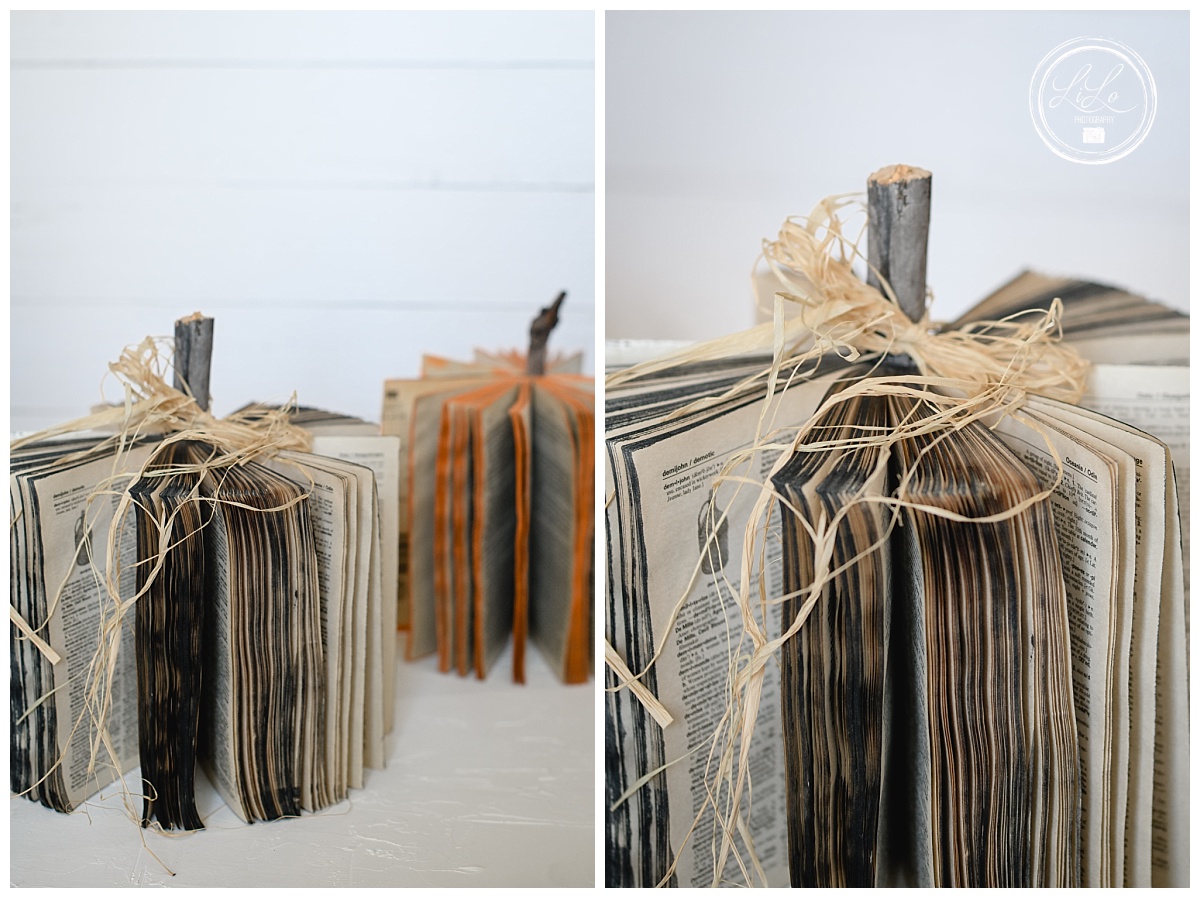
The last step is to tie on some raffia and put these adorable pumpkins on display in your house, library, school or work! They are so cute and pretty easy.
I will say that to make 14 pumpkins it took me about 3-3.5 hours from start to finish. I was disrupted a few times and I was taking pictures as I went so that slowed me down a bit, but you could knock a couple of these out in an hour if you have all the supplies ready to go!

This is the perfect fall craft for beginners or those who think they don’t have a creative bone in their body. I promise they are easy, cheap and quick to make! If you are more of a buyer and not a crafter, I am going to be selling some of the ones I made, so let me know if you are in Denver and want to buy one.
Oh hey Spookly. See, even the square ones that require no cutting are cute!
Let me know if you try this and how they turn out! I would love to see your pumpkins. Tag me on Instagram (@lilo_photography) or on Facebook (LiLo Photography- Colorado).
Want to see more like this? Comment below and let me know!
")
")


+ show Comments
- Hide Comments
add a comment