

")
When I decided to tackle our bathroom remodel all on my own, I knew I wanted to try to make a custom vanity that was as easy, quick and cheap as possible. Usually you can get 2 of the 3 of those things but not all 3. However, this vanity was pretty easy, didn’t take that long and was easy on the budget. It was a win/win/win!
The Inspiration:
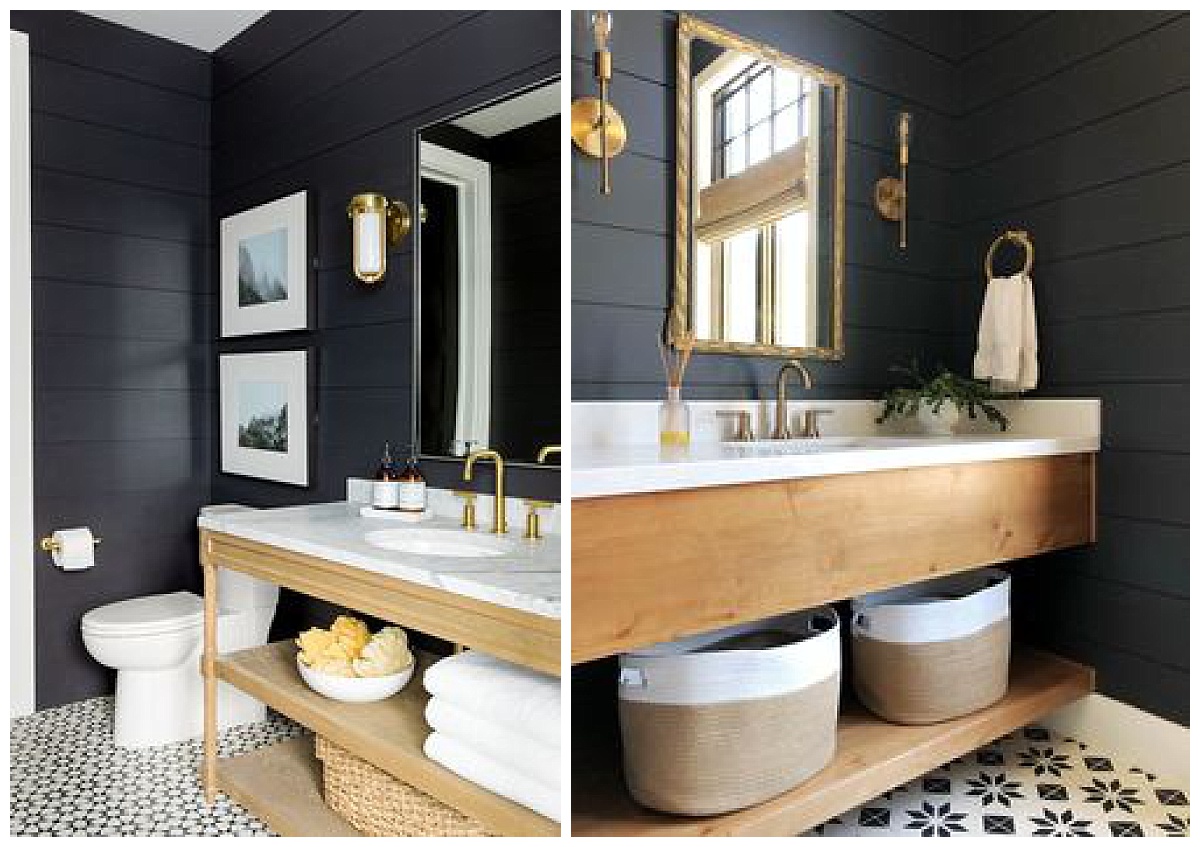
I loved the look of this vanity that I found on Pinterest so I sought out a way to do it all on my own. These were my inspiration (not my photos).
The Supplies:
2 stair treads. I got mine from Lowes because I liked that their treads had more knots, color variation and uniqueness. Home Depot carries them for almost the same price.
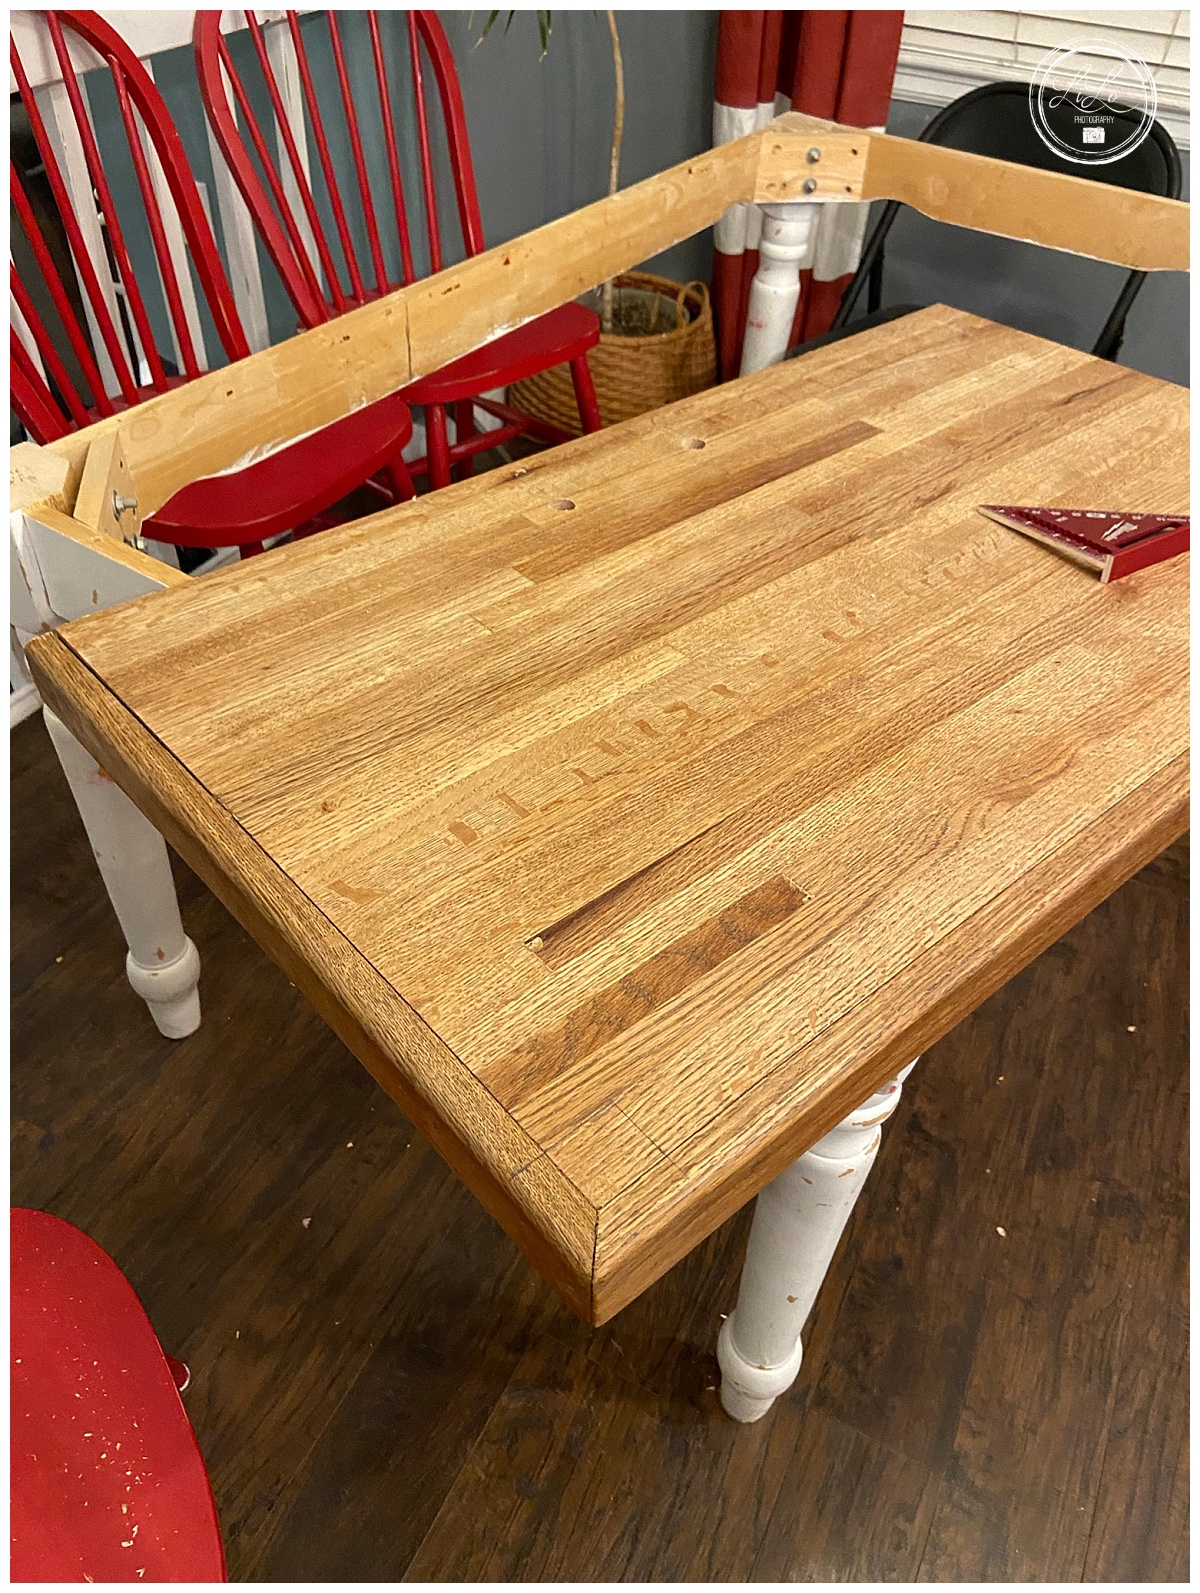
Shelf material. I used my old butcher block kitchen table (see below). But you can use anything you want! If you are in the Denver area, I still have the rest of my table. Make me an offer and I will sell it to you!
Stain: I used Minwax Weathered Oak as I was trying to match the color of the oak butcher block.
Leg: I was suckered in by this butcher block tapered leg because I loved the look of it. However, I would recommend using something else. Explained below.
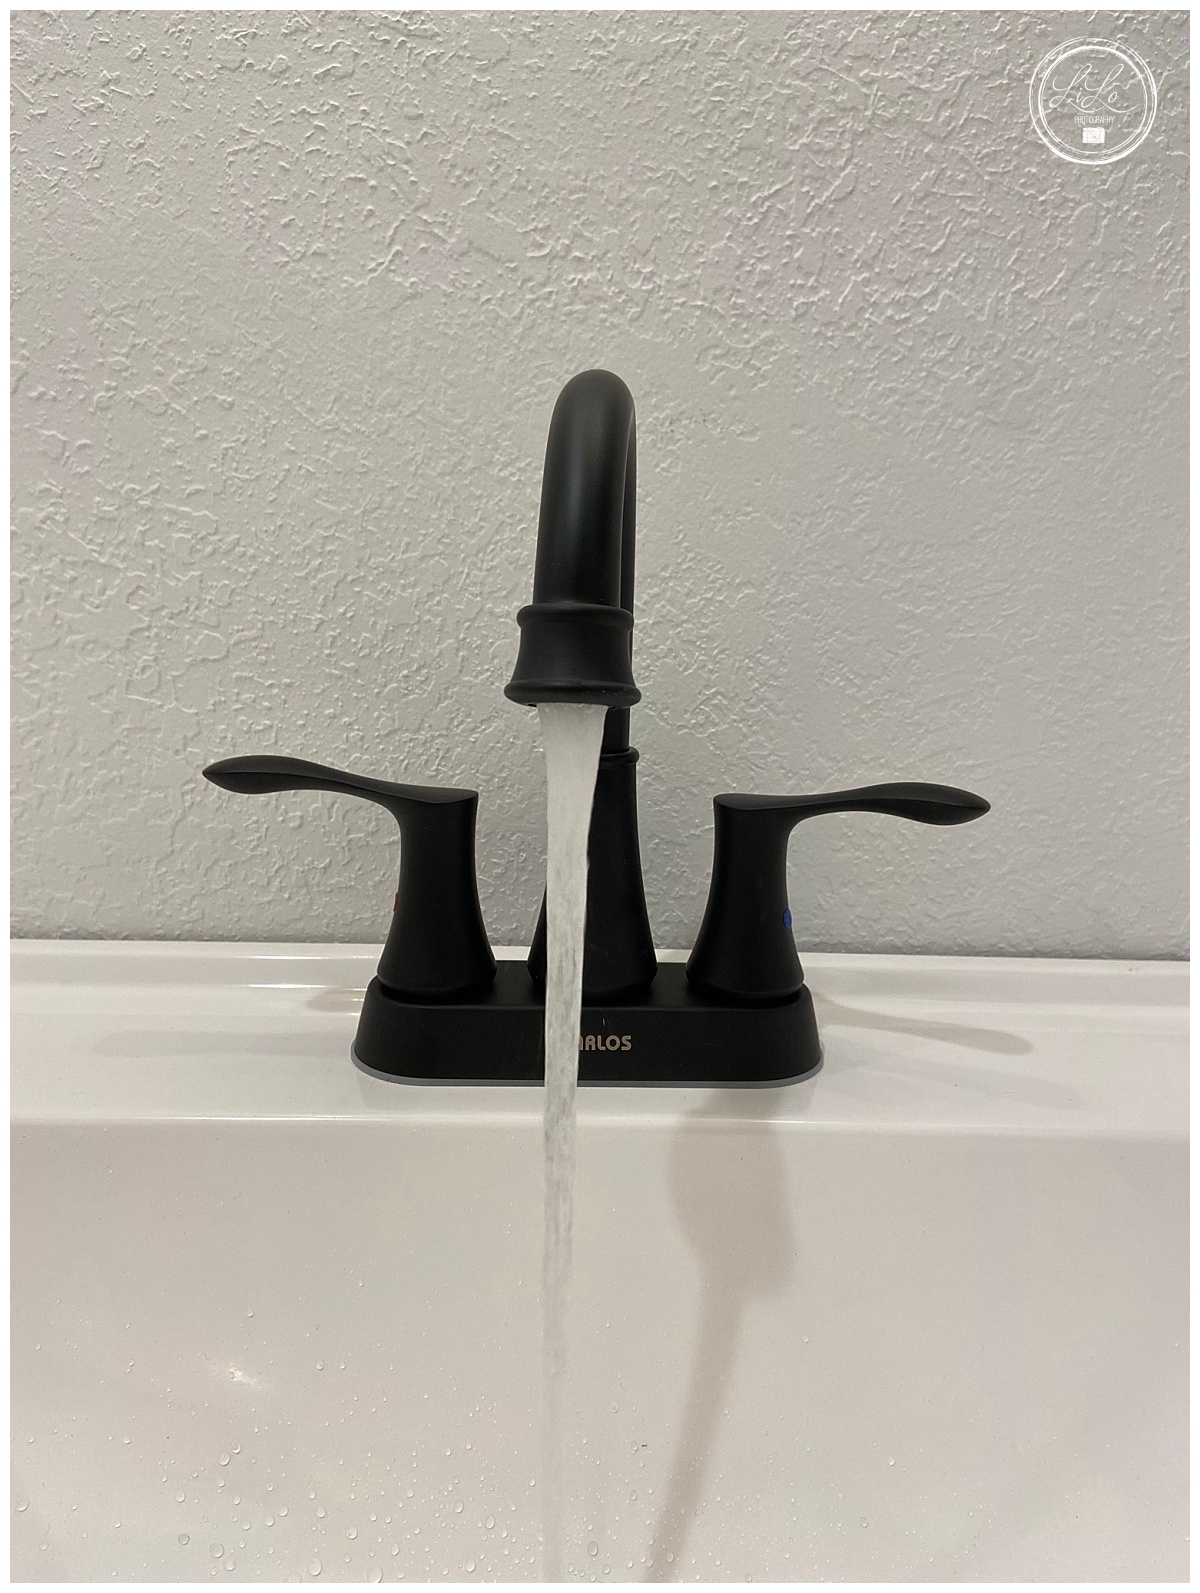
Faucet: We got ours from Amazon for an amazing price and I love it. Easy to install and looks great.
3″ Deck Screws
2×4’s for the cleat to hold up the vanity top.
White silicone to seal/attach the vanity top to the stair treads.
The Shelf:
I started this project by cutting up my kitchen table. 🤣 We did the island for our kitchen with butcher block about 5 years ago. With the leftovers from the project we decided to use the excess for our kitchen table. I loved it for a season but after time I got tired of so much butcher block so I decided to design and build a new square table (that project is still in progress). So I had a slab of butcher block that needed a home! If you don’t have butcher block laying around, you could use something else for the bottom shelf. If you are in the Denver Area, make me an offer and I will sell you the rest of mine!
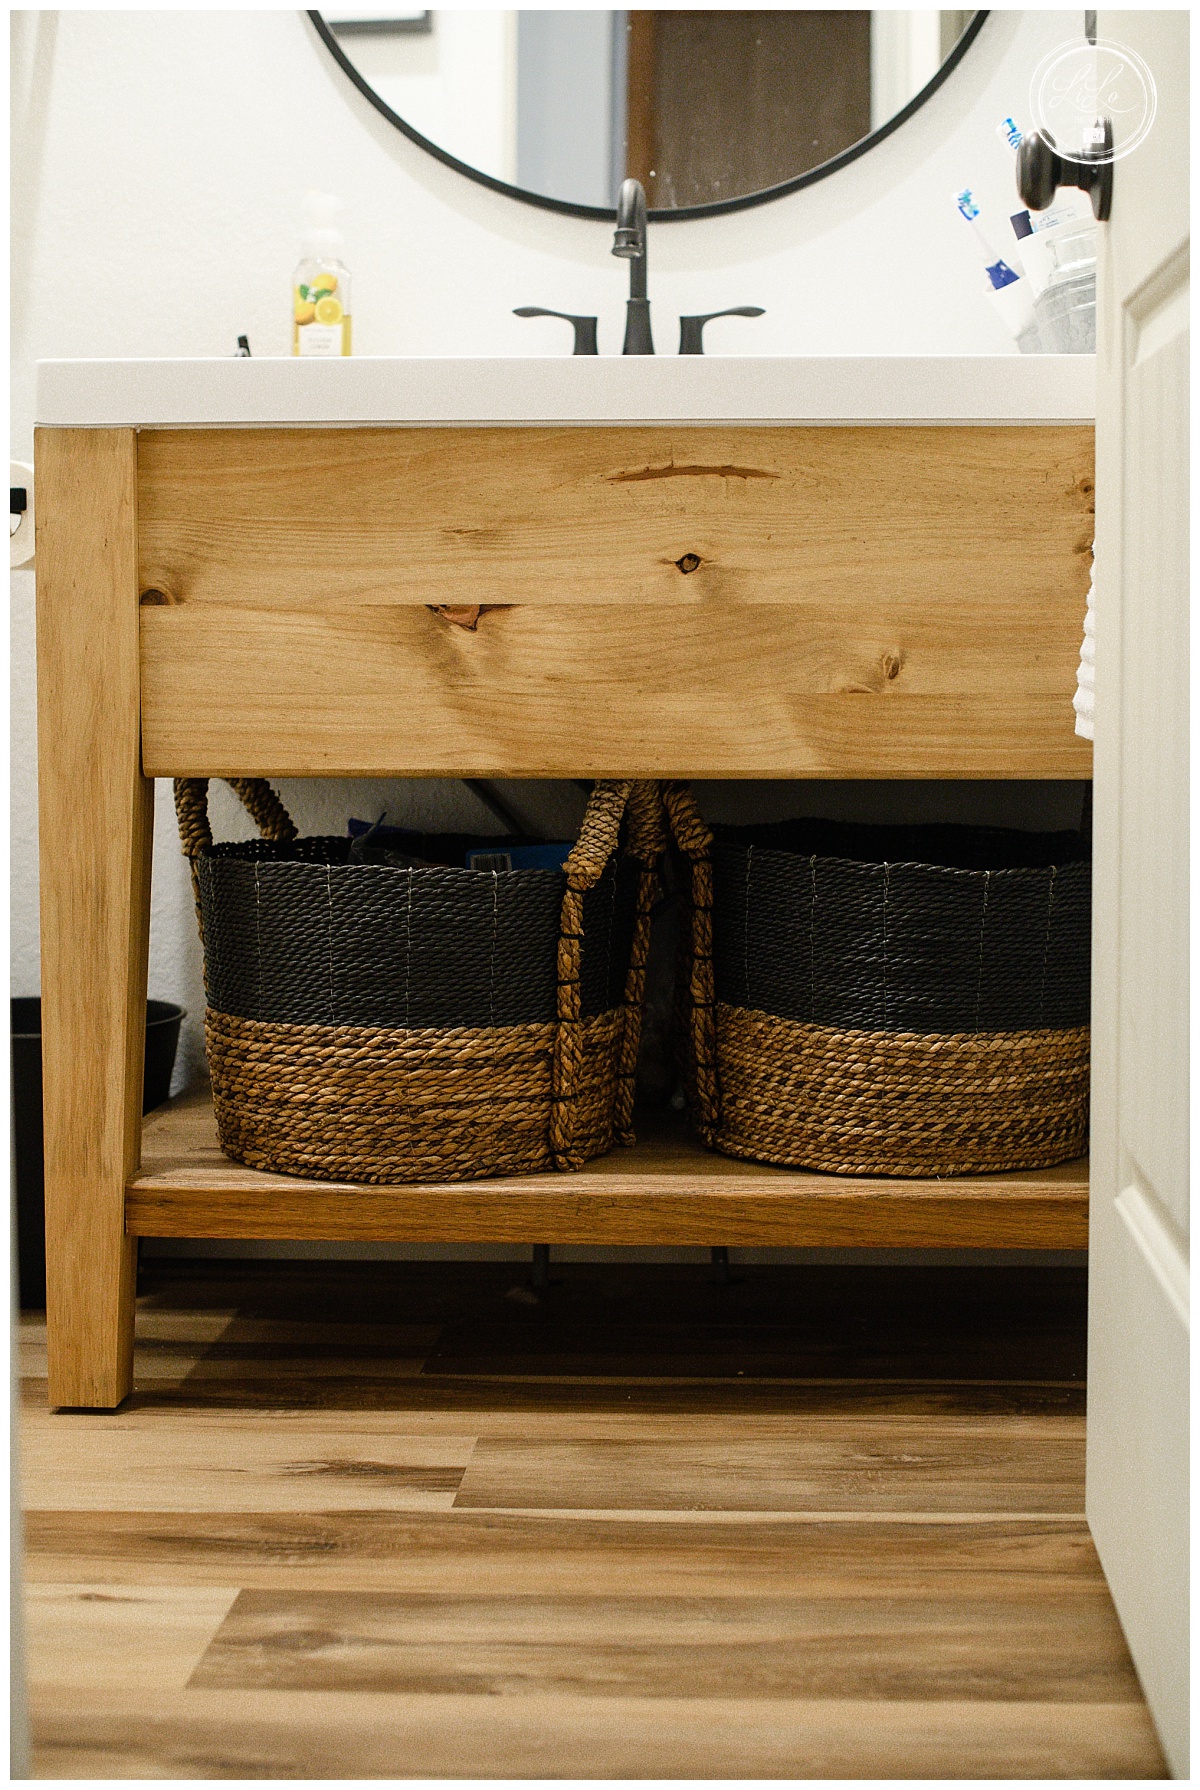
The shelf was cut to roughly the same size as the vanity top (pay no attention to the mess as it was cold outside and we had to cut it inside). It was necessary to notch out the corner where the leg for the vanity was going to go and to drill holes for the hot and cold water. Our water pipes come up through the floor. Depending on how your plumbing is run, you might not need to do this step if your pipes come out through the wall. Later I had to make these holes much bigger as I was hoping to just have to put the pipe through it, but we didn’t end up replacing the valves so we had to make the holes bigger to accommodate the valves as well. Thankfully, no one can see the holes in the shelf as we needed baskets for storage.

Putting it Together:
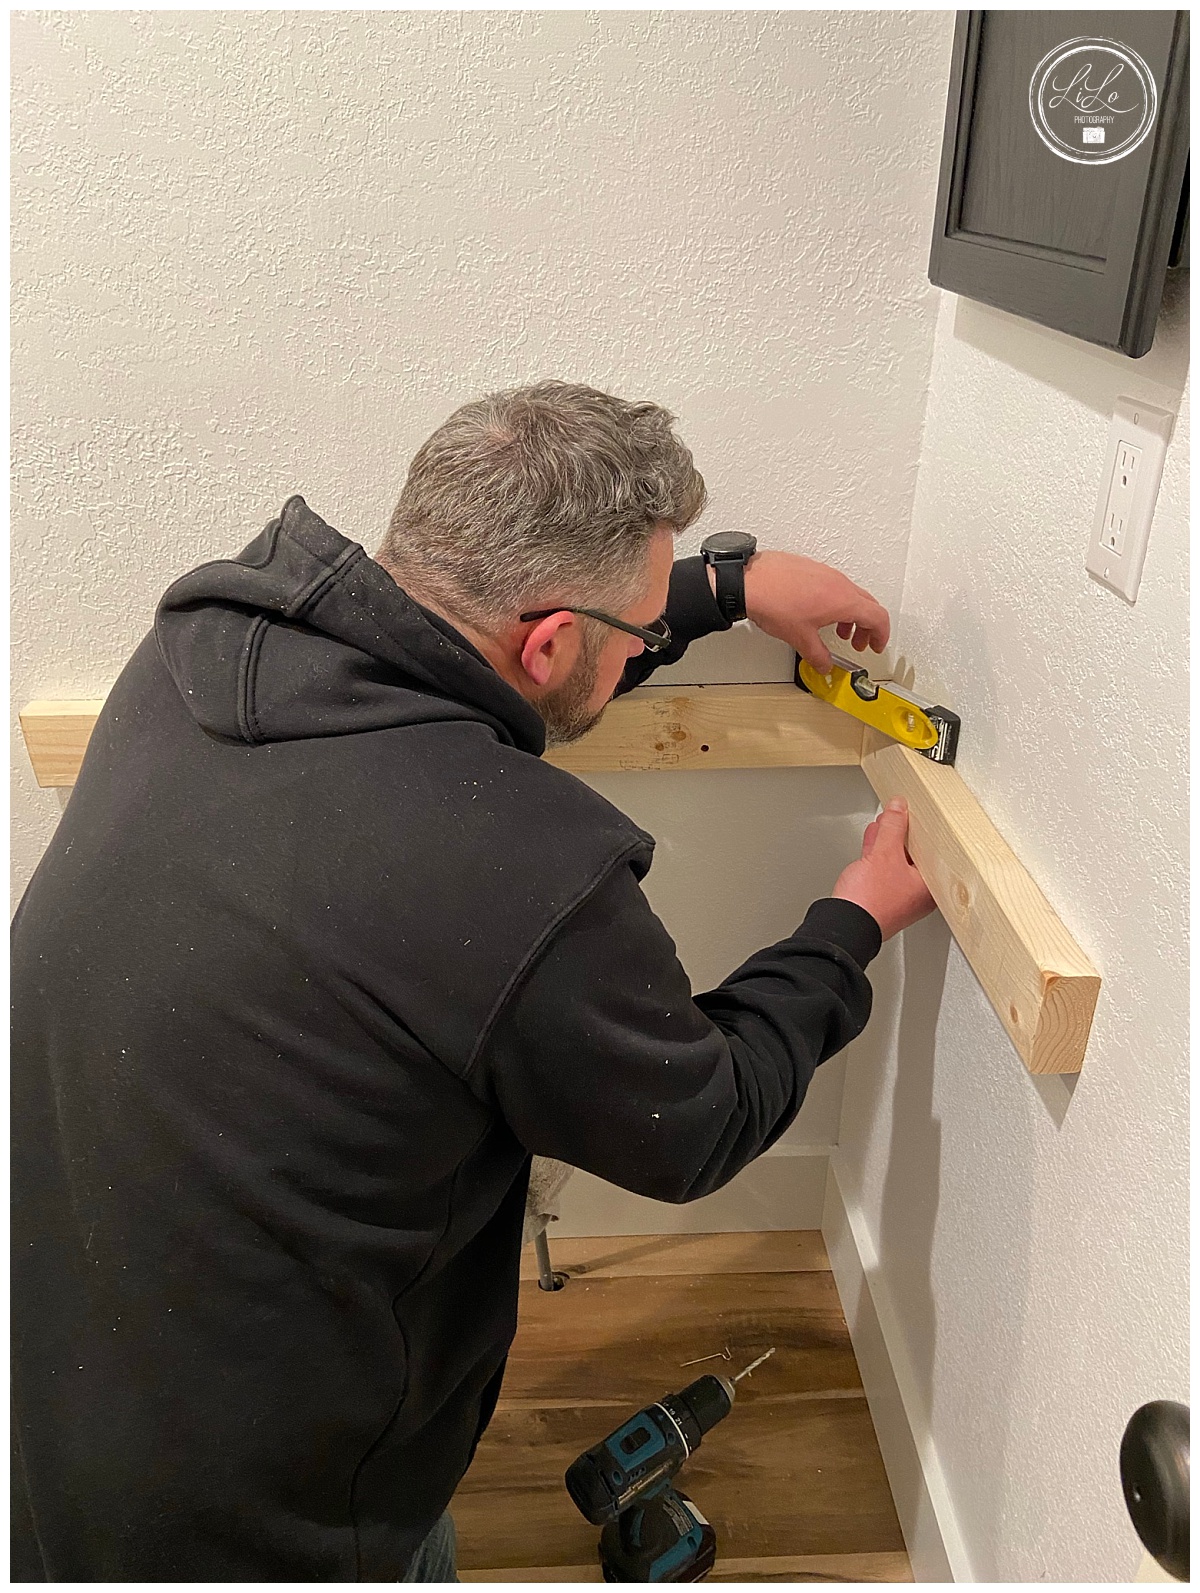
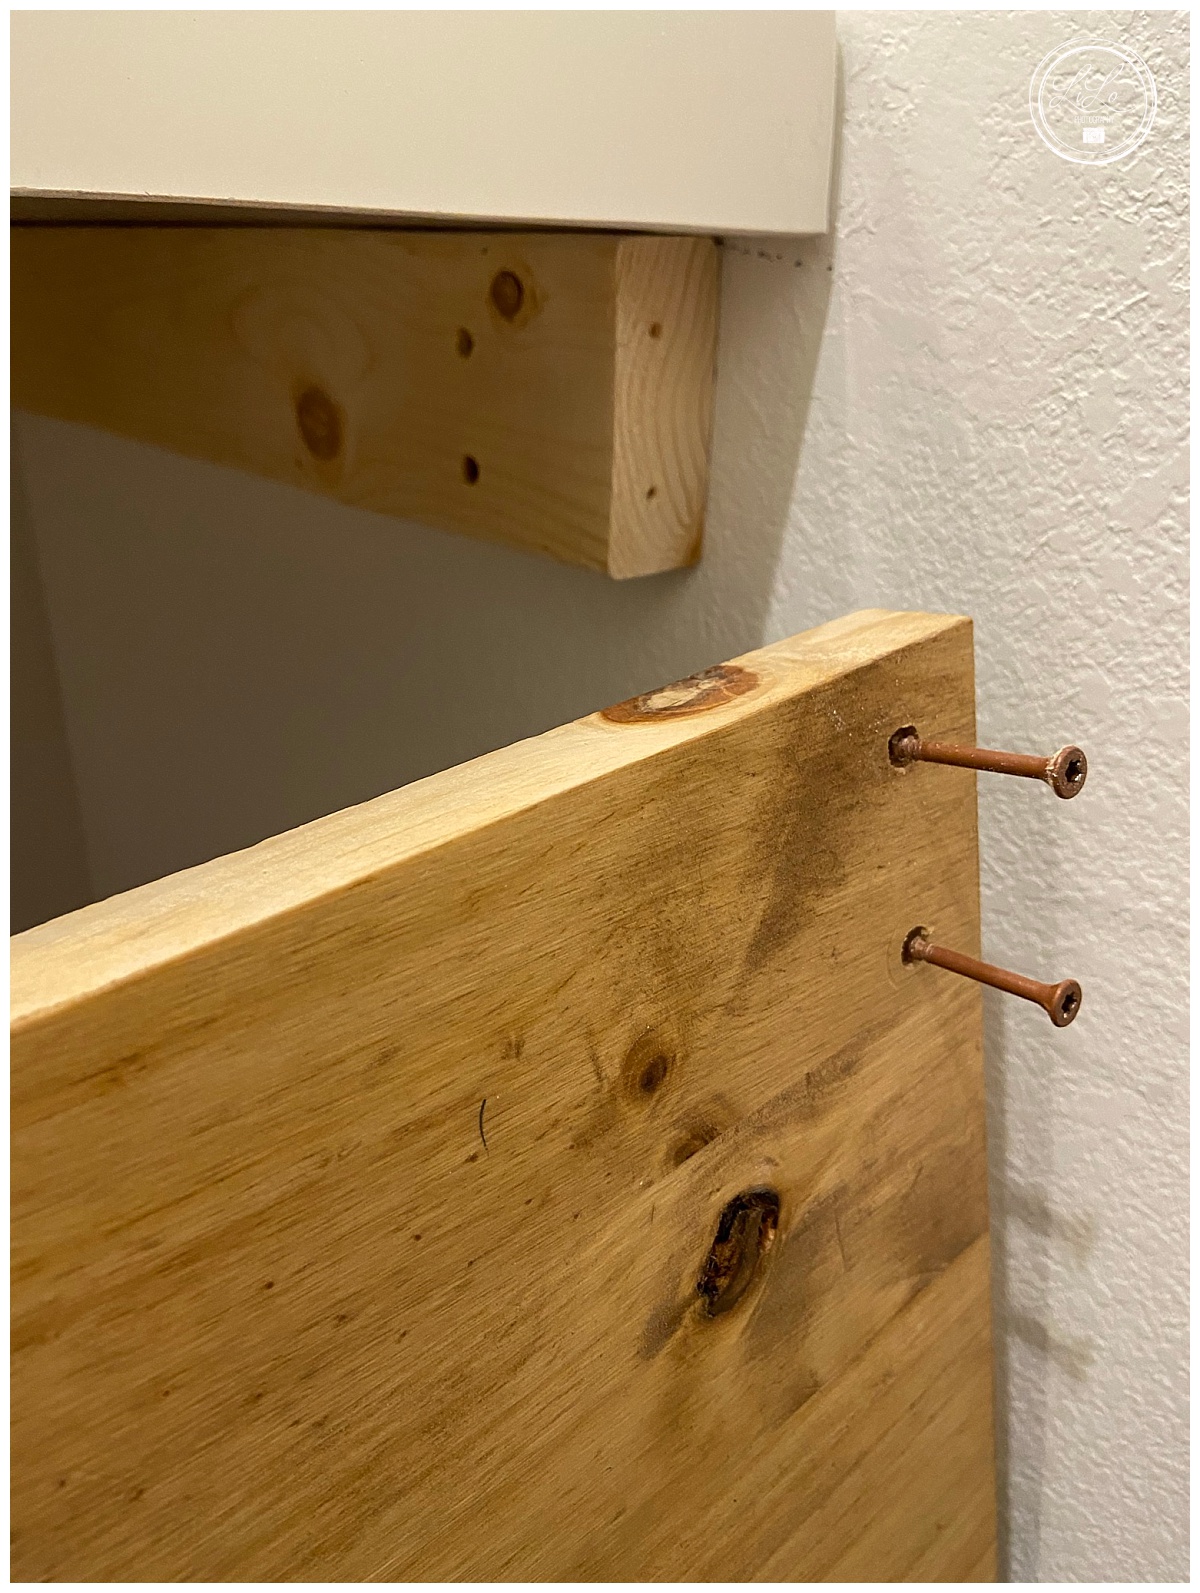
I (with some manly help) started by attaching 2×4’s to the studs on the wall at the height we wanted the vanity top. Mark the studs and then use the 3″ deck screws to attach the 2×4 to the studs. Be sure to use a level to ensure that your vanity top is level. Predrill the holes to make your life easier.
Then I put the shelf on top of the baseboard. I used pocket holes on the bottom of the shelf to attach it to the stud and to keep the shelf securely in place. Again pocket holes were used to screw the shelf into the leg and keep the leg in place. I wanted the front piece and the shelf to be a little recessed from the vanity top so you can see that the shelf does not exactly come to the edge of the leg. That was on purpose.
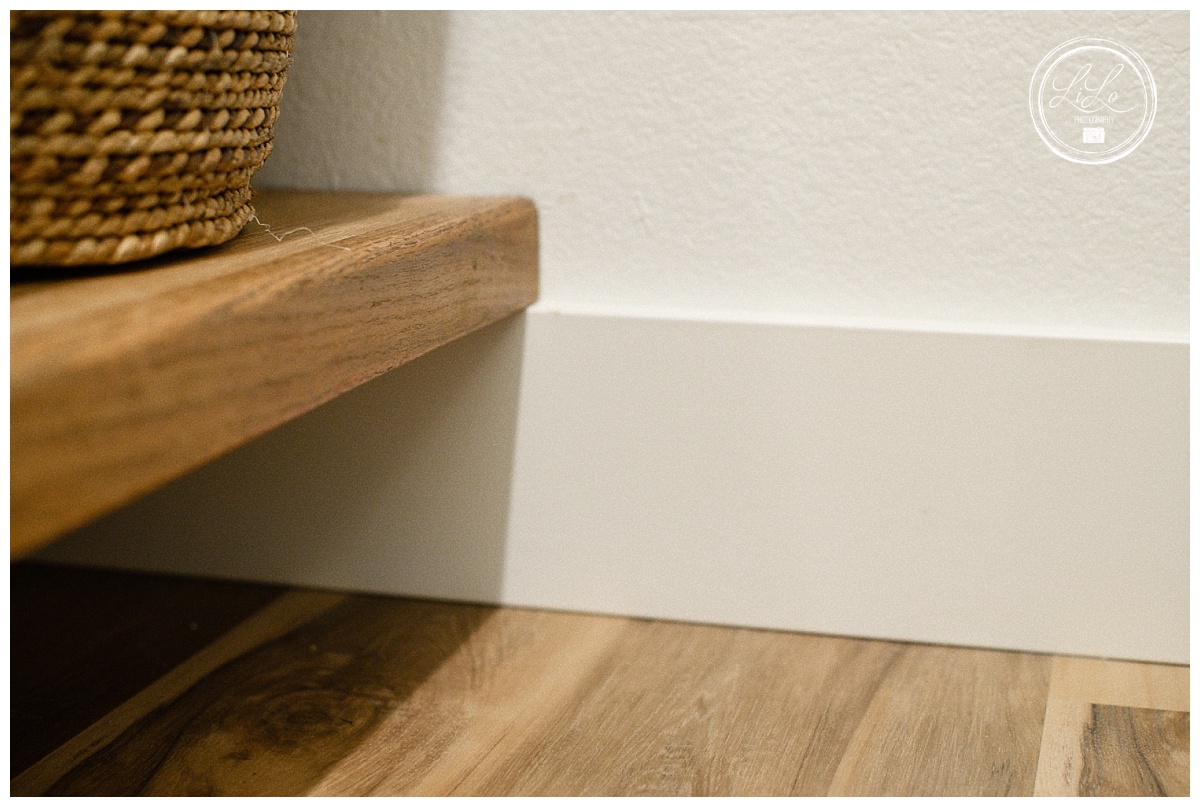
See how it is resting on the baseboard? It is also screwed it to the studs so it is VERY secure. I wanted the shelf to be higher off the ground so I opted for a 6″ baseboard.
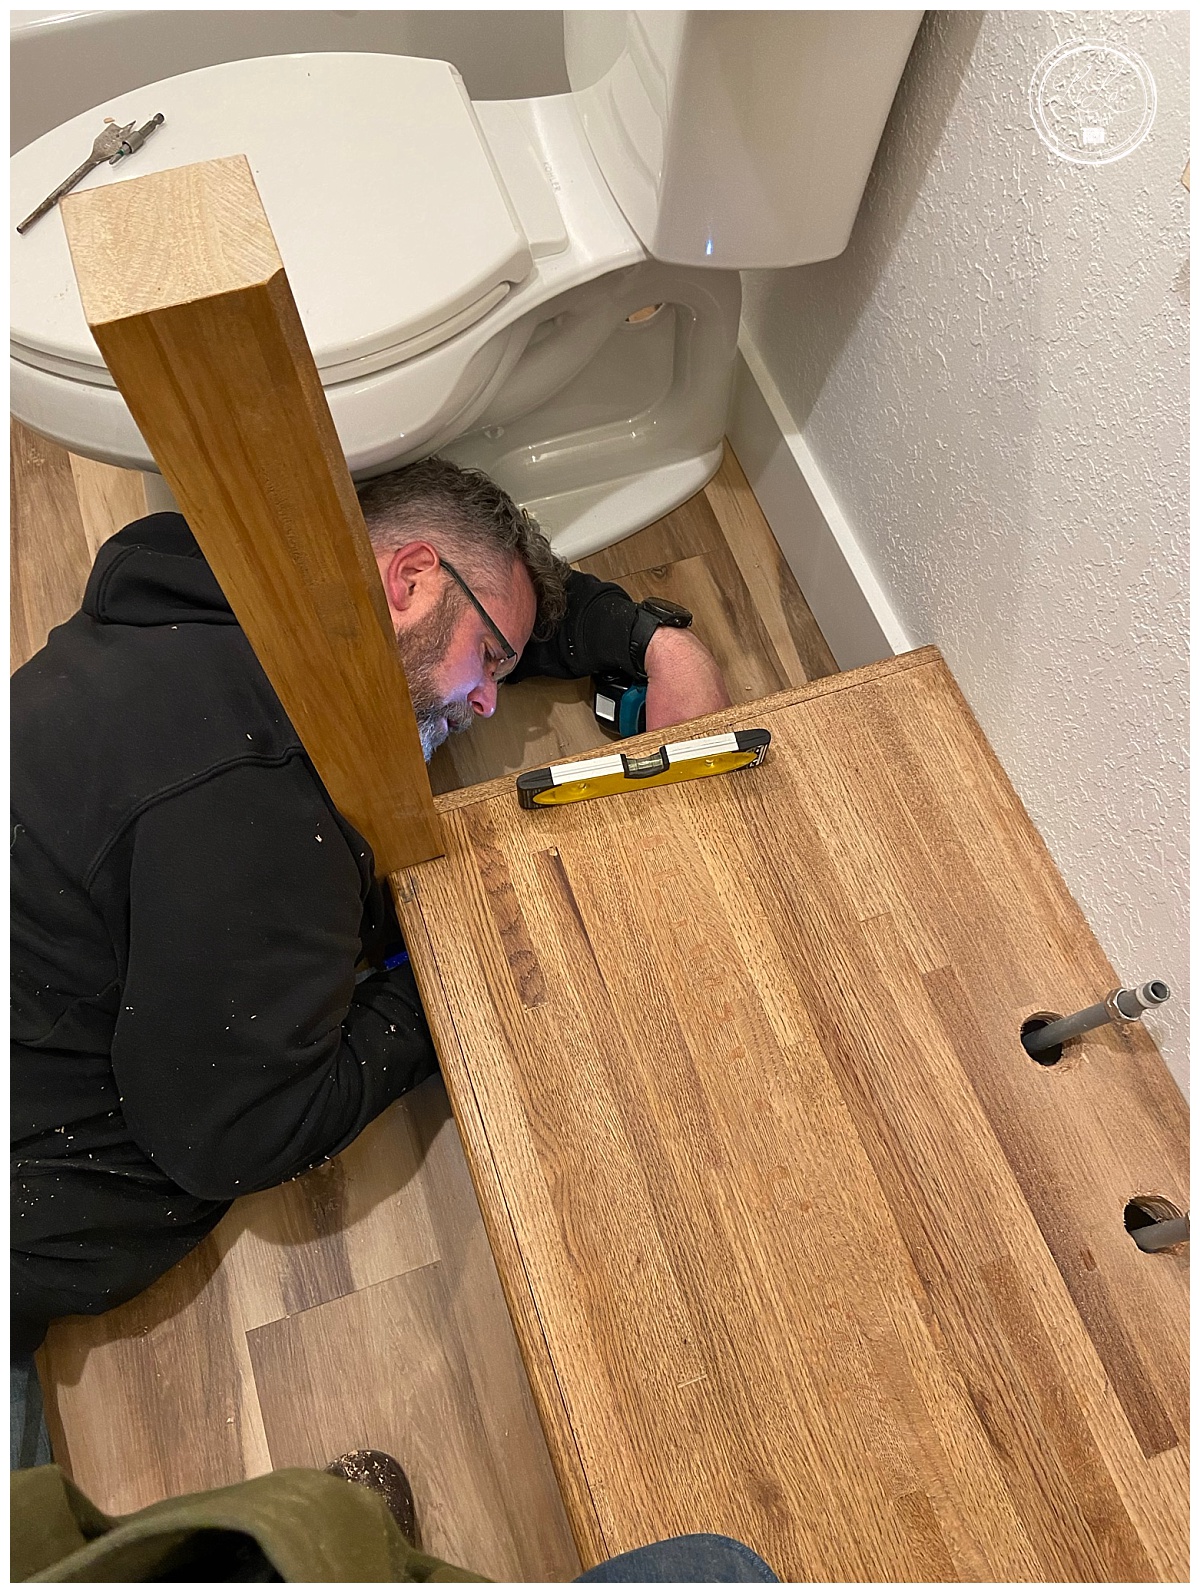
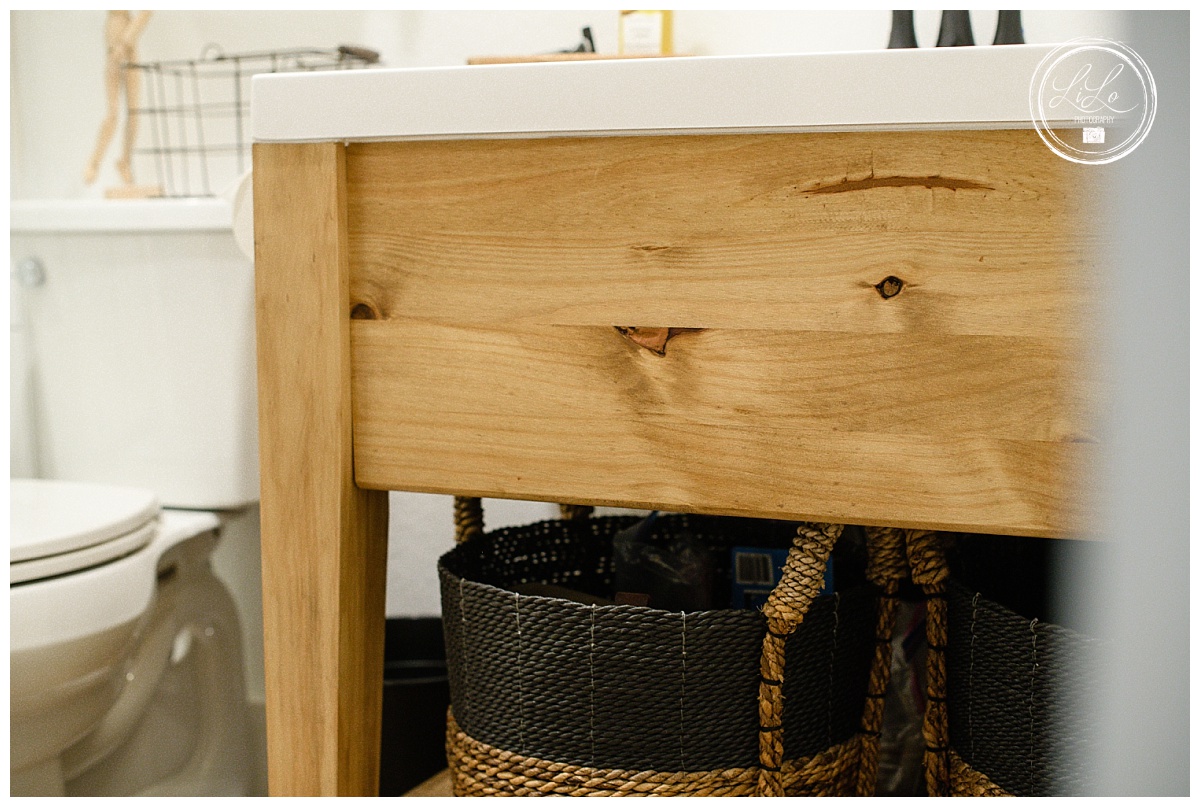
The problem we ran into was that the leg was tapered. This caused a lot of headaches. I recommend that if you are doing this, get a leg that is straight and NOT tapered. You could even use a 4×4 post! You can see in the photo below that we used painter’s tape to mark off where the leg needed to go to make sure everything was square.
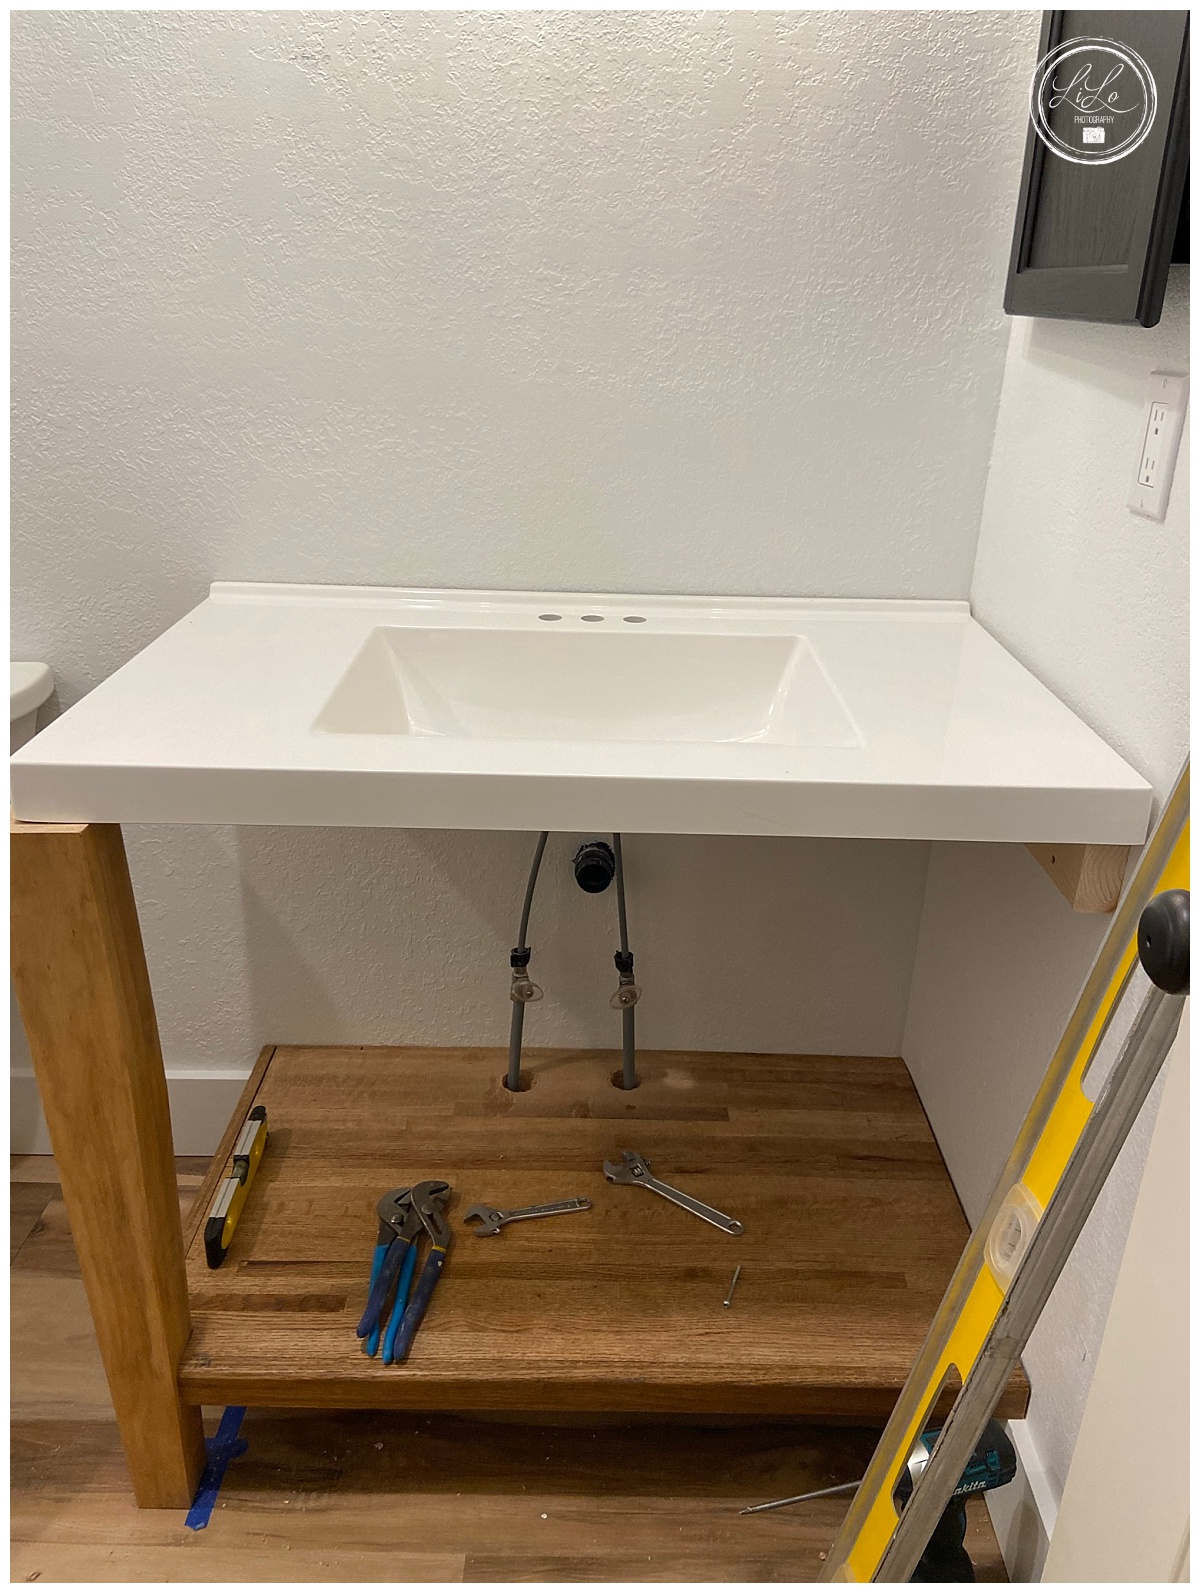
Then we put the white countertop on the cleat so we could make sure that the front and side pieces fit.
Next we attached the front piece (stair tread- which I had stained ahead of time) to the cleat by predrilling and using a 3″ deck screw. On the other side we used pocket holes to connect the stair tread to the leg so you couldn’t see it from the front. We did the same thing for the side piece. This was tricky and took two of us because the leg was tapered we had to push the leg in so it met the wood pieces exactly. You can see in the picture above that the leg wanted to stick out so we had to push it in as we drilled the side/front pieces together to the leg. There was a lot of force involved.
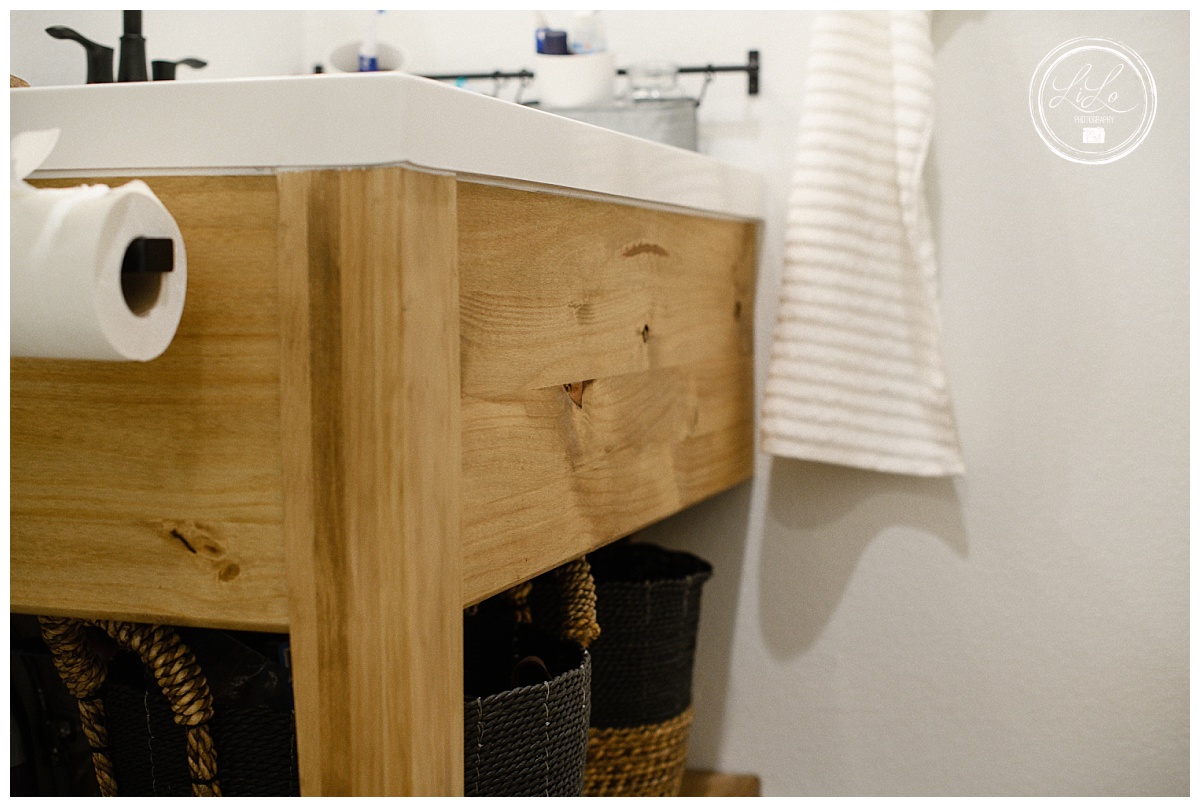
This front piece nicely covers the p-trap and other plumbing so even if you are on the ground, you can’t see any of that. You could see the pipes coming up from the ground if there wasn’t anything on the shelf, but I have baskets there….so no worries.
After the base was “together” we took off the vanity top and I added white silicone to the top of the base to secure the vanity top to the base. The top piece went back on and then I put blue painters tape and did another bead of silicone on the front and sides to finish it up and make it perfect! The painters tape is KEY! Put that stuff on above and below where you want the straight line of silicone/caulk to be. Put the bead of silicone on, spread it with a paper towel or gloved finger and then pull off the tape. Perfect caulk lines every time!!! You could use clear silicone if you want, but I wanted it to match the white of the vanity top.
After that, all I had to do was attach the faucet and connect the water lines (and pray I didn’t have any leaks). The faucet we got came with all of the necessary parts and it was super easy to install. I ran into trouble as my p-trap wasn’t tall enough so I had to go get an extension but that isn’t the fault of the faucet.
I finished it off with these cute black baskets from Target and called it a day!
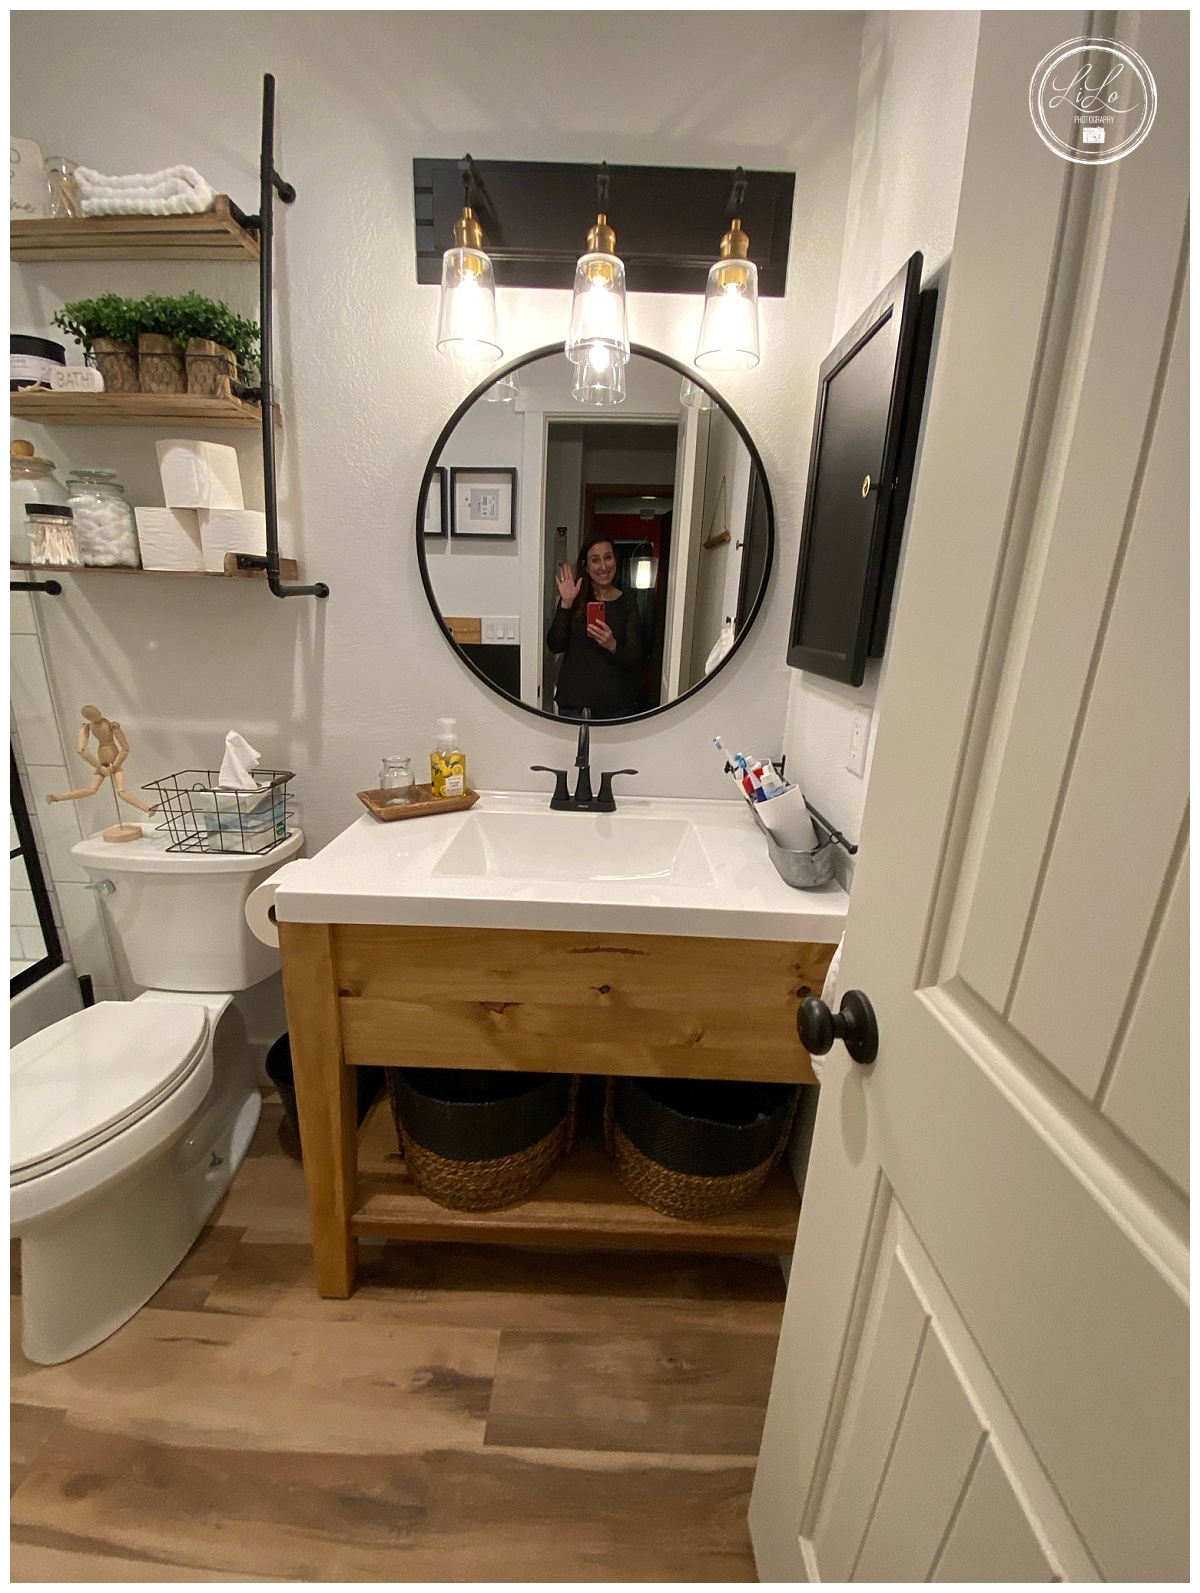
Next time I will show you the entire bathroom and how I did 99% of it by myself! Let me know if you want the link to something from the bathroom!
")
")


+ show Comments
- Hide Comments
add a comment