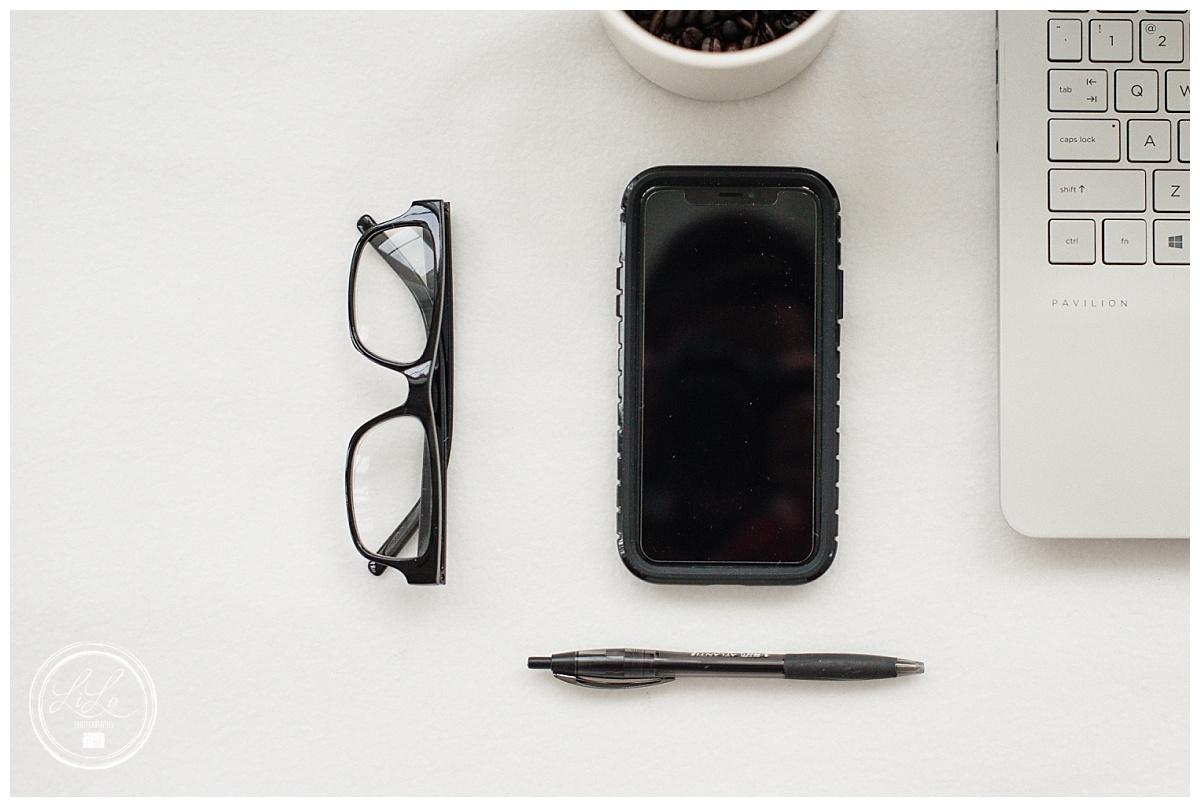
So. You are a business owner and you are trying to take pictures of your products or for your social media or marketing (or you are a parent wanting to take cute pictures of your adorable children). Perhaps the only thing you have at your disposal is your phone. No need to worry. I am here to help you!
These 5 tips will up your photography game and make your photos look cleaner, brighter and more professional!

Tip #1
It is all about the light! What makes a great photo? Light! What makes a terrible photo? Lack of light. The Greek root of the word photography means “drawing with light” (if you are picturing My Big Fat Greek Wedding…so am I). FIND THE LIGHT!
You are probably saying…”great, now how do I find the light”? The best place to find light is in front of the window. You don’t want direct sunlight shining on to your subject, but the diffused light coming in from the window is best! My favorite place to take pictures in my house is right in front of my sliding glass door to the back yard.
When I was first learning photography this was one of my biggest “ah-ha” moments. The night I took my first photography class I came home, laid down a blue blanket on the floor in front of my sliding glass door and took this photo of my youngest son.

Tip #2
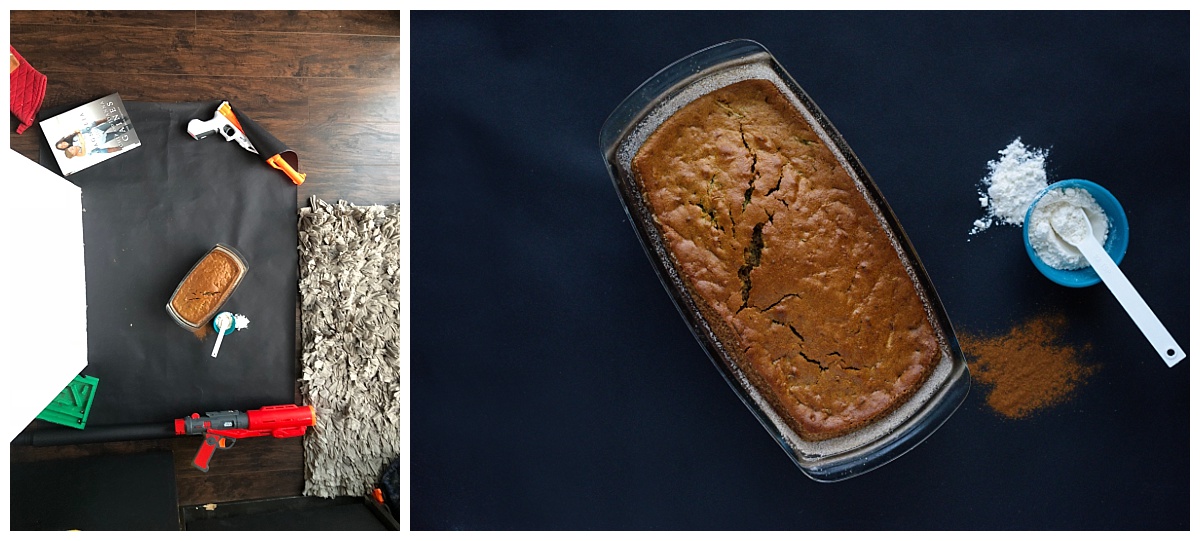
White poster board or foam board is your new best friend. Now that your subject is in front of the window with all of the beautiful light coming in, use the white paper or foam board to bounce light back onto your subject. This will light your subject from 2 directions and take away a lot of the shadows from your picture. I often stand above my subject and lean the white foam board against my legs. Nothing fancy….and super cheap! Make sure that you are NOT standing in front of the window. If you are standing in front of the window, you are blocking all of the beautiful light!

Tip #3
Stand above your subject and get a bird’s eye view. This is another reason I like my full length door/window. I can set my subject on the floor and stand above it. If I am using another window, I will often stand on a chair so that I can get some height and fill the frame with more of my subject. You want to have some room to play with in your photo because, especially Instagram, will crop the photo. If you are zoomed in too far, then you won’t be able to see the entire subject. Better to have too much in the frame and have to crop it later if needed! And NEVER, never use the zoom on your phone. It greatly reduces the quality of your photo!! It is always better to crop the photo when you are editing it. This works really well if you are photographing kids as well. They will hold still better if they are laying down and it is a very flattering angle!
Check out this photo that shows you how I used Tips 1-3. You can see the light from the sliding glass door, the white foam board to bounce the light and how I stood above it to get a good angle (and the fact that I am a #boymom and I use Nerf guns to hold the background flat). And you can see the final product too!

Tip #4
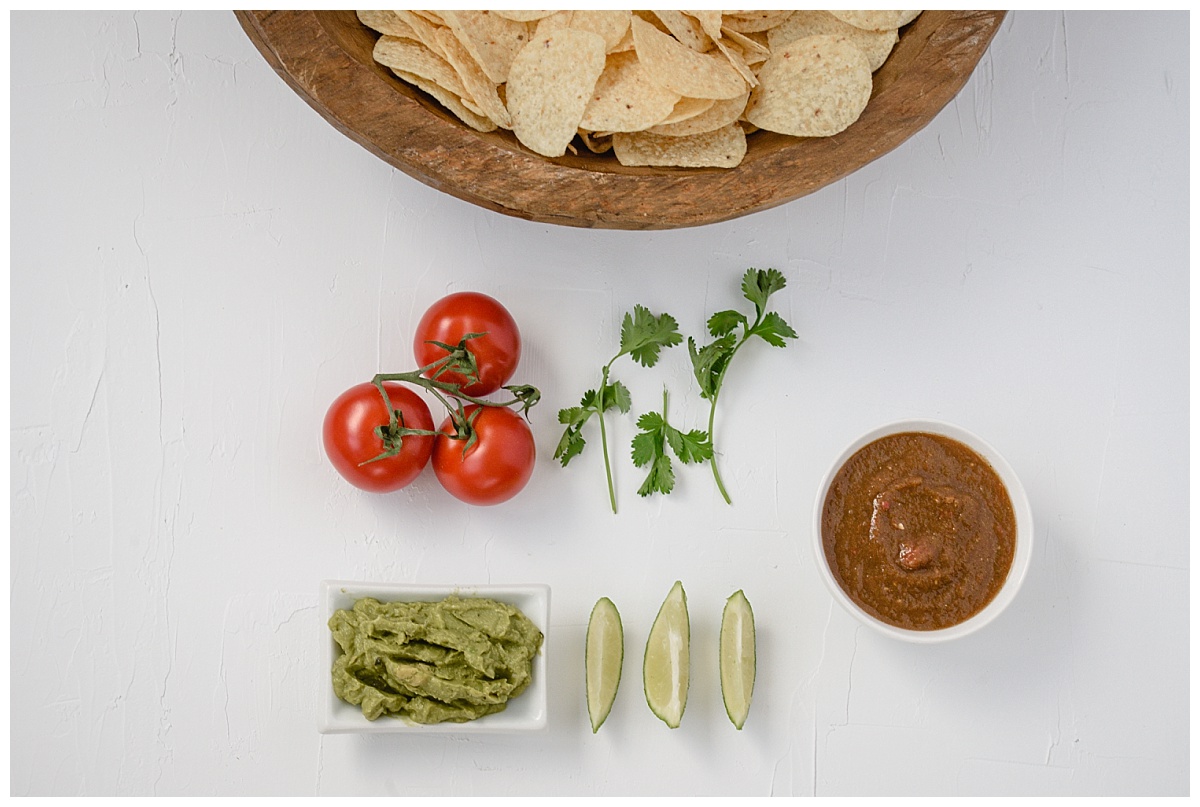
Use a white or uncluttered background. Use a white poster board or table cloth or even your kitchen table. Find a surface that has some interesting character and use it. If you really want to up your game, check out this video from The Bite Shot where she makes a background board. I made one and I LOVE it! See this photo I did for my May Stock Talk (Cinco De Mayo)? I made that background with a 2×3′ skinny board, some joint compound and white spray paint.

But you don’t have to buy anything. I am sure that you have a white sheet or solid colored bed spread, table or floor that you can use. Just remember that darker colors will absorb some of the light so if you want a dark background then you want to have some lighter elements in the photo as well. It all just depends on the “look” you are going for. However, many people are more drawn to light, bright photos than dark moody photos.
Tip #5
Keep your editing simple. There are tons of editing apps but I tend to use the editing tools within my camera/photo (or even within Instagram) on my phone. I have also used VSCO in the past. Most of the time you might want to make the photo a bit brighter and perhaps lift some of the shadows. Don’t add/subtract colors from your photo or use heavy filters. Keep it basic and true to life….especially if you are showcasing a product that you are selling so you customers know just what they are getting.

Bonus Tip
Hire a professional! Using a professional product or branding photographer can greatly up your game. In just an hour, most photographers can give you lots of images from different angles and perspectives of your products giving them the look and feel you are looking for. If you are looking for a branding photographer you can check out my website or if you are wanting to up your social media and marketing, you can subscribe to the Stock Talk and get monthly images and captions for your business and let me do the hard work for you!
+ show Comments
- Hide Comments
add a comment